Tutorials – Ashyn’s Stone Kitchen
Return to: Designing and DecoratingAshyn’s Built in Oven | Ashyn’s Sink | Ashyn’s Stone Kitchen | Building an optical Illusion | Roofing 101 | Spiral Stairs 101
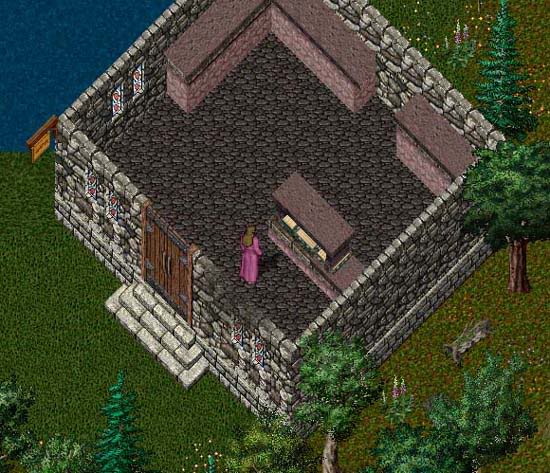
I’ve received a lot (and I mean, a lot!) of requests to “explain” how to make the stone kitchen counters so I thought I’d sit down and make a tutorial (easier for me than typing it over and over – plus pretty pictures can be added here). I want to make note that I did ask a GM, in game, to look at my stone kitchen (in Zento) to make sure manipulating items the way I had was acceptable. I was told that it is, providing you are doing so with good intentions (deco to your hearts content, but don’t use it to block critters and work a skill). So here goes….
Stone Countertops
For this design, you will need:
- 4 East Facing Large Tables
- 9 South Facing Large Tables
- 3 square gazas
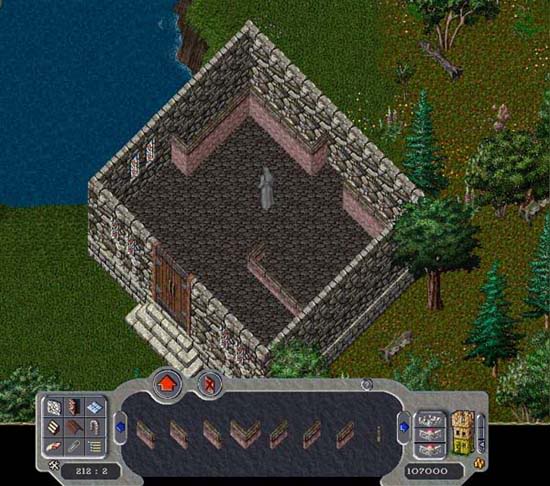
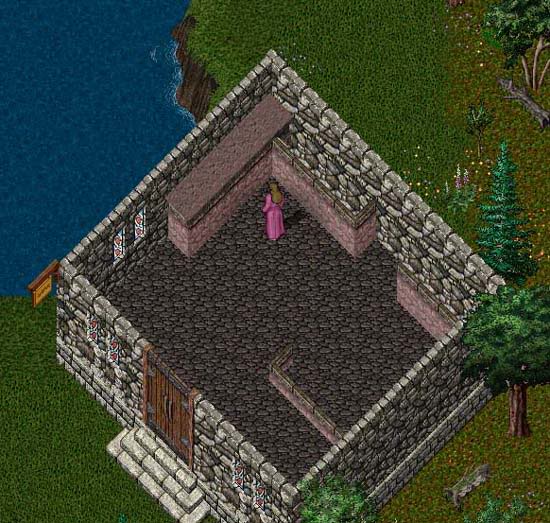
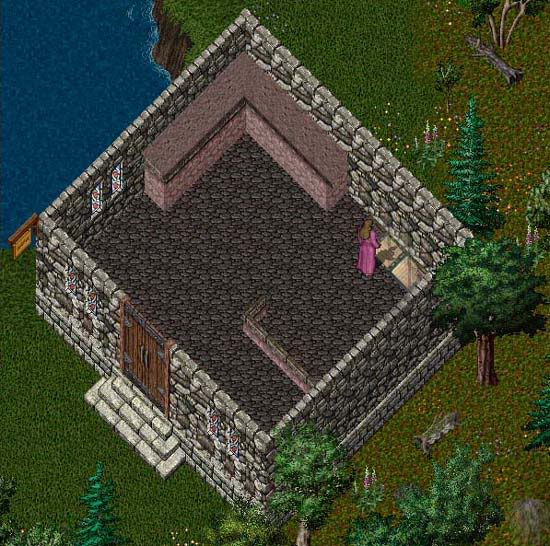
Begin by laying out your kitchen in customization. Half walls work well for “counters,” While the shortest wall works better for “bar-style” counters.
Once you have your lay out complete, commit your design.
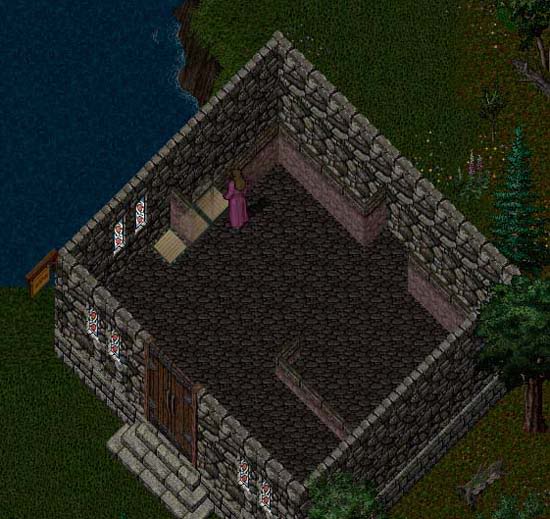
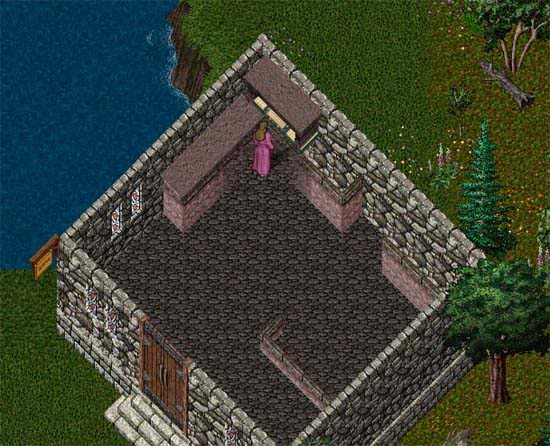
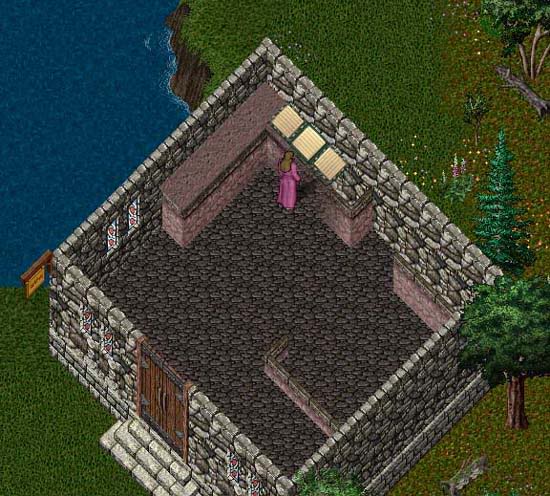
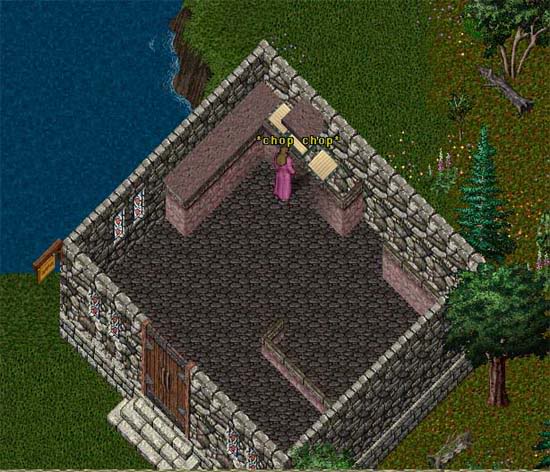
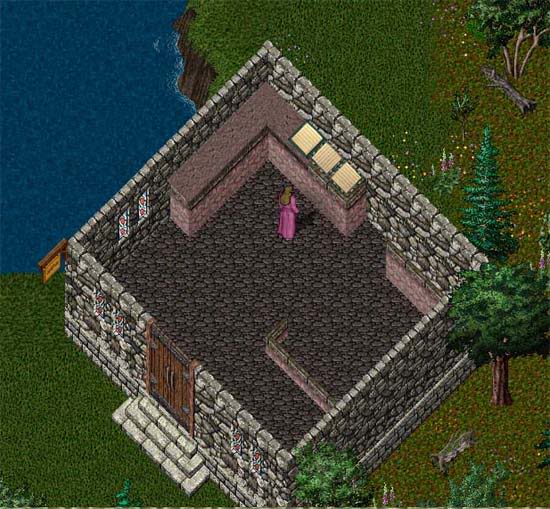
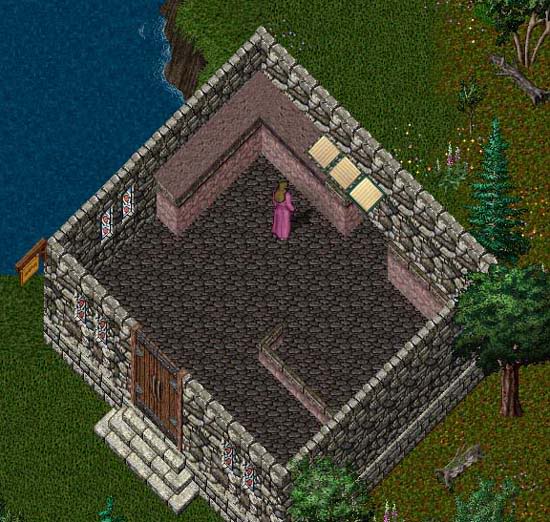
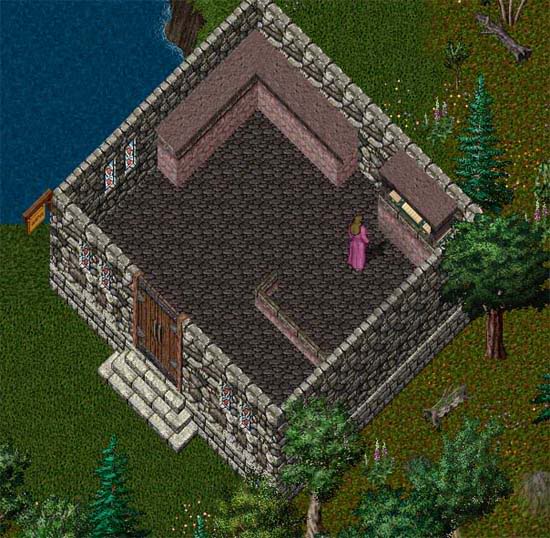
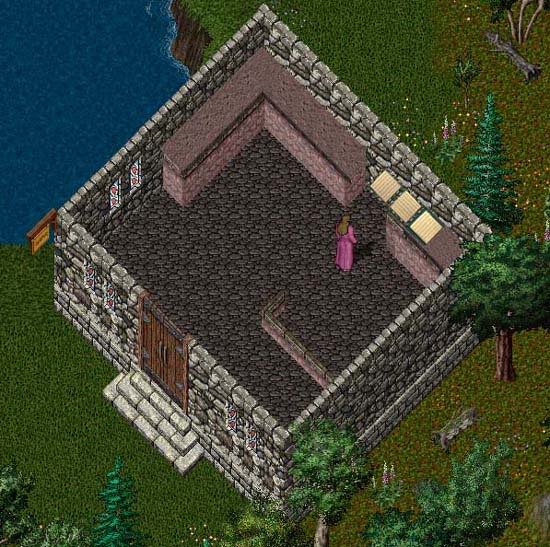
To begin, turn your transperency up to see beyond the half walls and place three square gazas as shown below (the furthest left gaza will be outside the half wall):
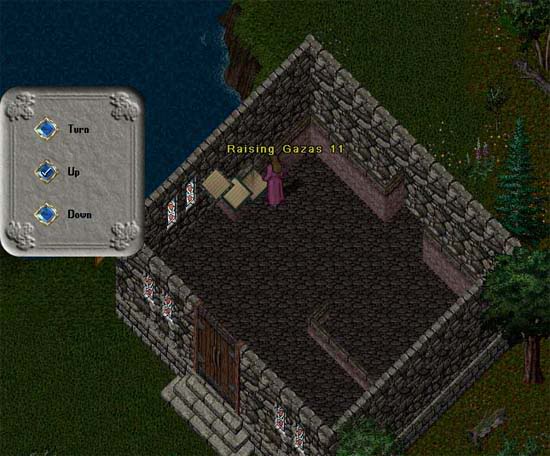
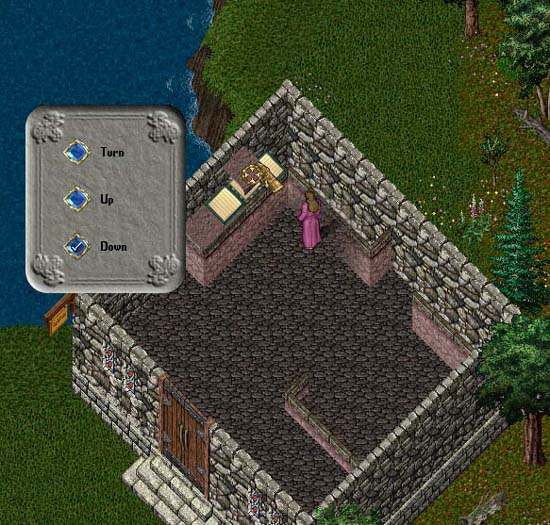
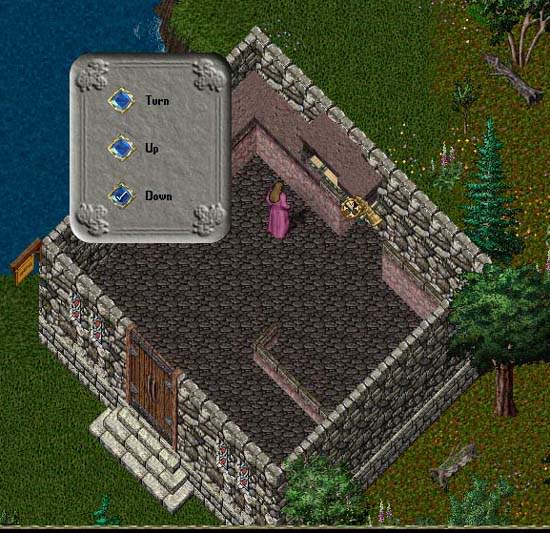
Raise all three gazas 11 times:
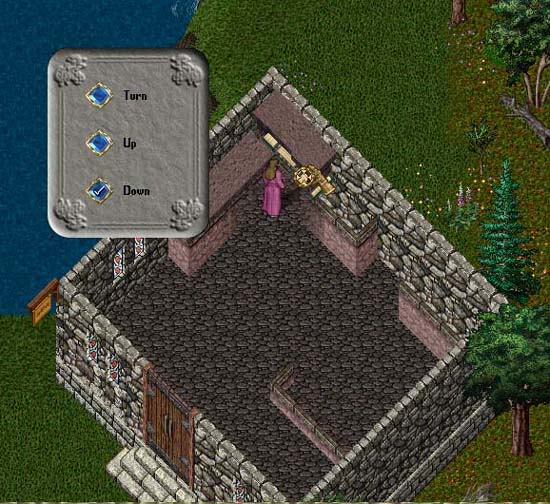
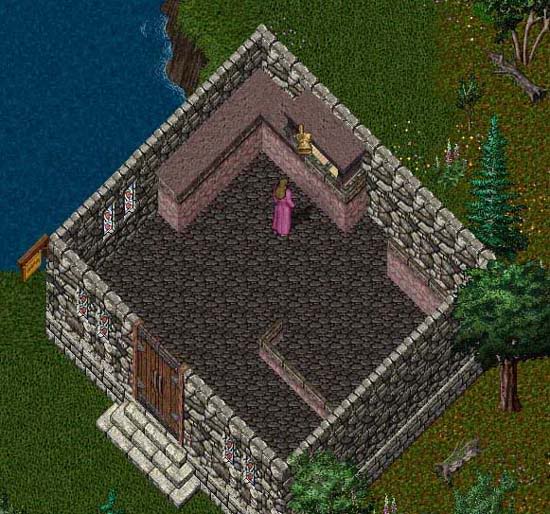
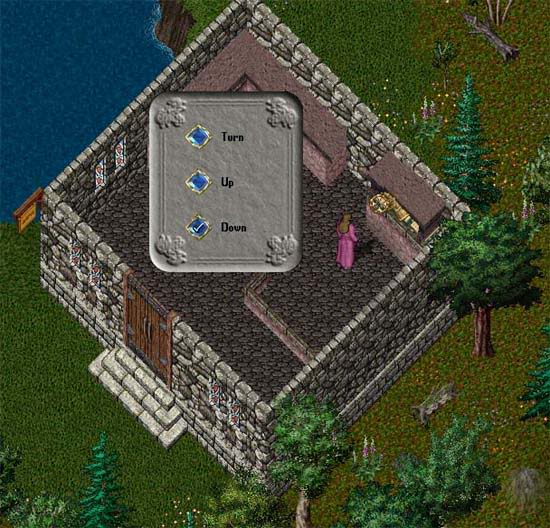
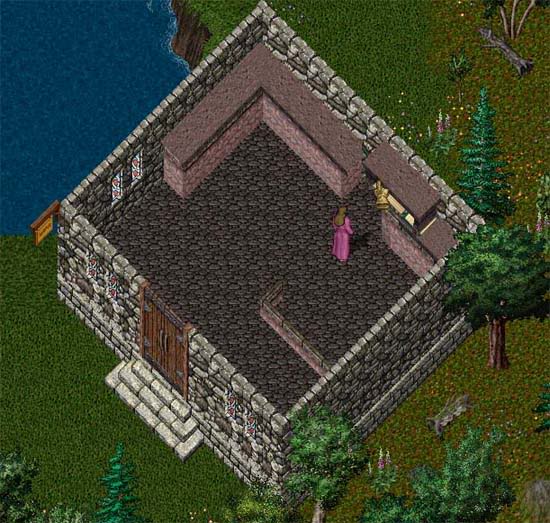
Place an East facing large table on the gaza.
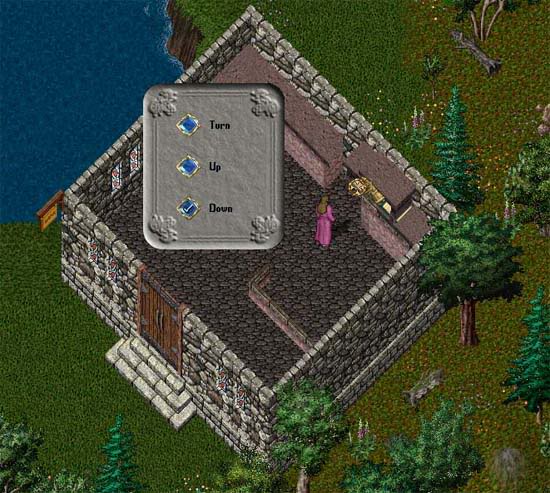
Lower the left gaza by two and the stone table will “break” into 3 pieces.
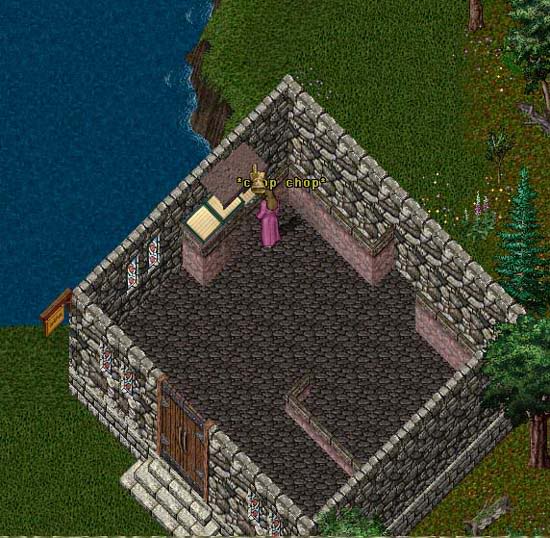
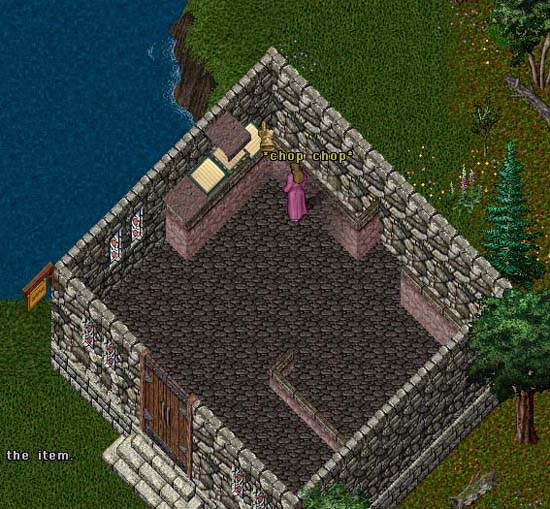
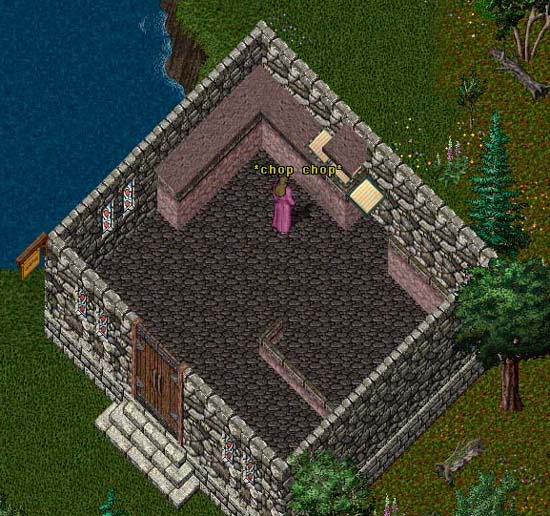
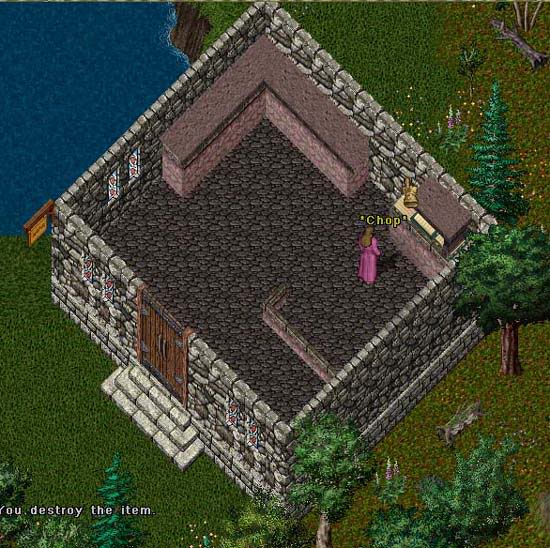
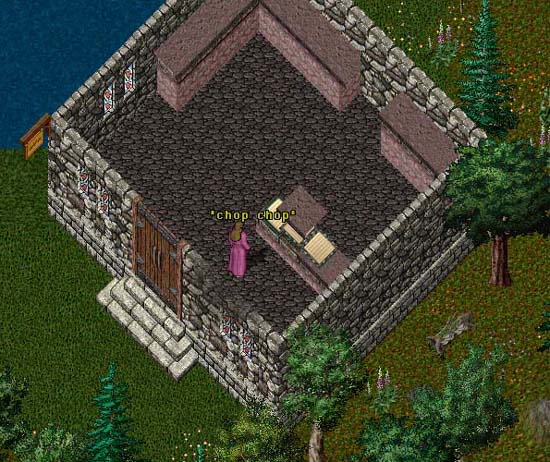
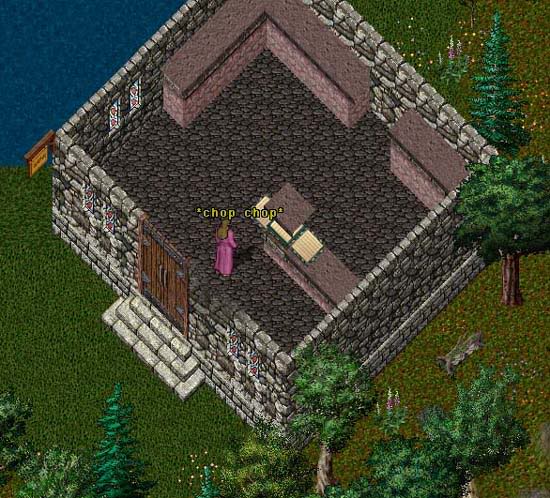
Excluding the corners of your counters, you will be using only the “center” sections of the tables. Chop the left and right ends of the table off, leaving only the center piece of the table:
Lower the center section of the table below the gaza – at this point you’ll be playing “leap-frog” with the gazas. Chop the left gaza and place it on the right side of the others and raise again:
Place the next table:
Lower the right gaza to break the table (the table will “break” easier using the right gaza since there is no table under it, as there is on the left side).
Again, you will chop the left and right sections of the table, and lower the center section of the table below the gaza:
Once again: Leap-frog your left gaza to the right side and raise:
..and place your next table:
Lower the right gaza by two and break your table:
Starting to seem redundant? Yes! Chop the right and left sides of the table, leaving the center section:
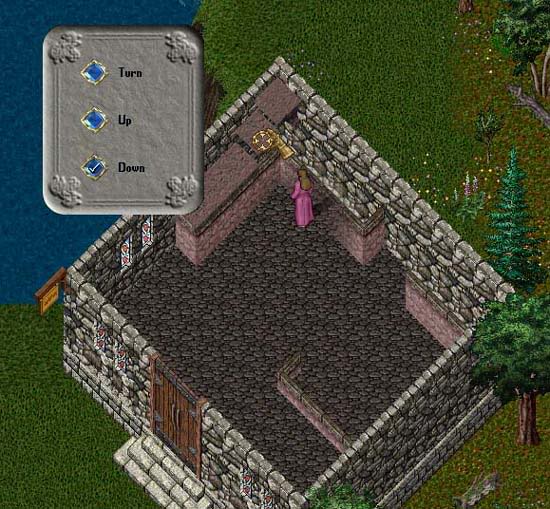
…and lower the center section:
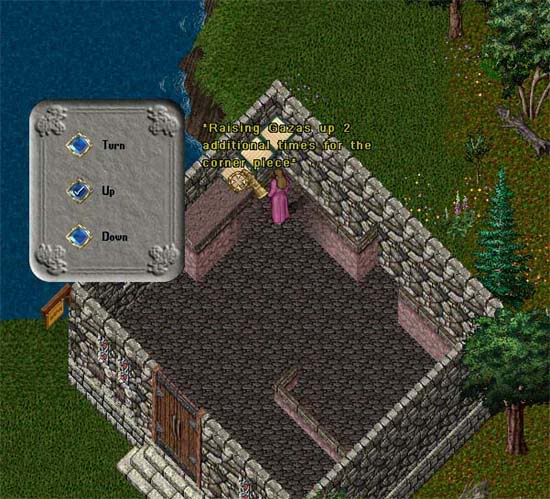
Now for something a little different. Leap-frog your left gaza to the right side (it should be in the corner now) and raise all gazas an additional two squares (they should be 13 clicks up from the botttom):
Place your table:
Somewhere along the line, I lost a pic (should have lost a bunch of them)…but, once the table is placed, you will lower the LEFT gaza and break the table. Chop ONLY the left section of the table! You will use the center and right portions of the table for this corner:
Lower both pieces as you did with the others:
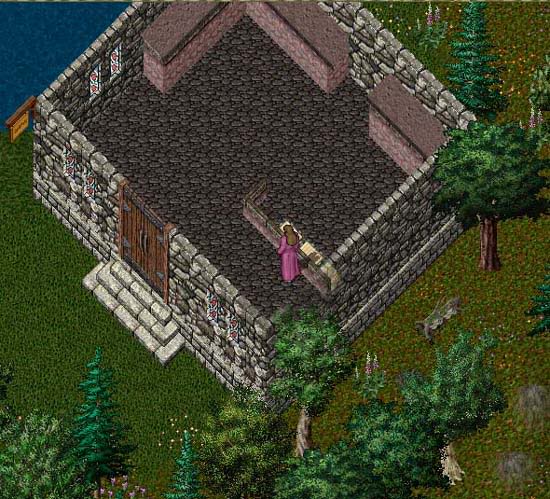
Your Counter should now look like this:
Ok – around the corner we go, you will need a gaza in the corner, and can leap-frog the left two gazas on the west wall to the north wall:
You will be using the south facing large tables for this area:
Lower and break your table:
And we’re back to using just the center section of the table:
Leap-frog your left gaza to the right side:
Do I need to say, place another table?
Probably no more than I need to say, “lower your gaza by two and break the table:”
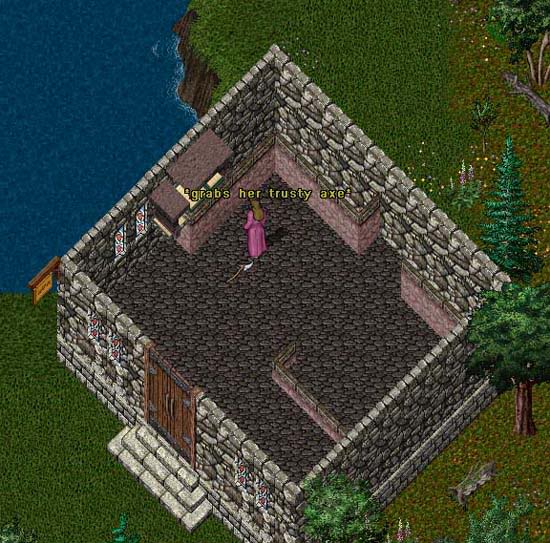
Grab that axe and chop those ends off!
Lower the center section:
…and more leap-frogging gazas!
…keep those miners busy, get another stone table:
Lower the right gaza and break the table….and yes, axe the ends and lower the center piece (forgot that photo):
Last Lap-frog for this section:
Last table for this section as well:
and there is that center piece once again:
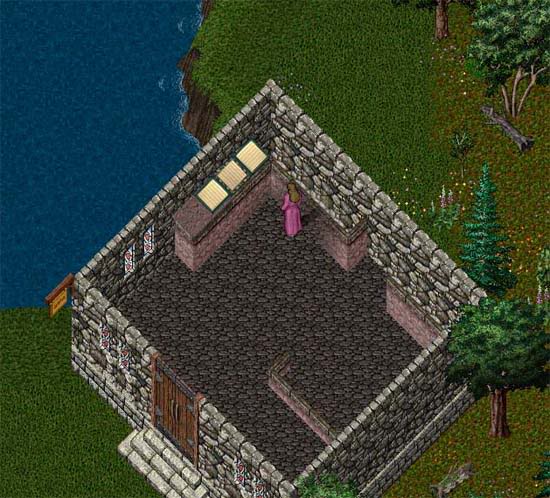
Your counters should now look like this:
Moving along……
For the final section on the north wall, place three gazas as shown (the furthest right gaza will be in the corner):
Raise the gazas 11 times:
…and place a table:
Lower the left gaza and break the table:
This is a corner so you will ONLY break the left section of the table:
Lower the two remaining sections:
and leap-frog your gaza:
Place the last table for this wall:
Lower the gaza and break the table:
We know what to do with this center piece:
Remove the gazas:
Almost done! Your counters should not look like this:

Now to move on to the stone counter bar
Begin as you did with the last section, placing 3 gazas starting at the east wall:
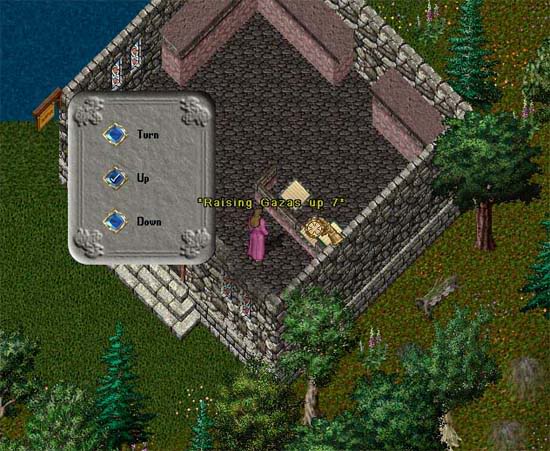
Raise the gazas up 7 times:
..and place a table:
Lower the left gaza and break the table:
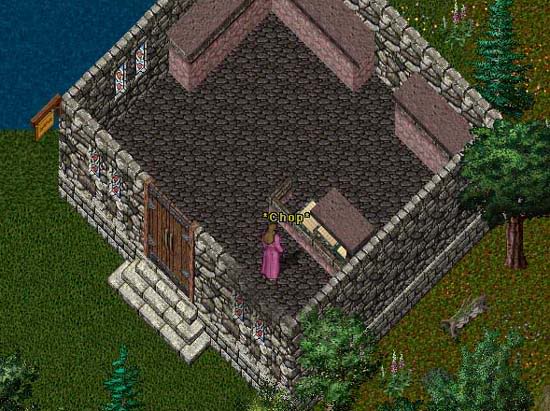
This section is at a wall, so you will ONLY chop the left section of the table:
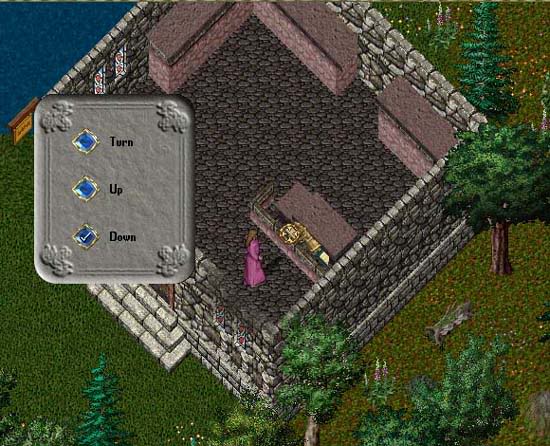
Lower the remaining two sections until you receive the message that it cannot be lowered any further.
Leap frog your right side gaza to the left:
Miner’s are really loving you now—another 9 pieces of granite:
Snap!
..and to think you’re only using 3 of the 9 piece of granite!
Last leap-frog:
Finally! The last table:
Lowering the left gaza and break the table:
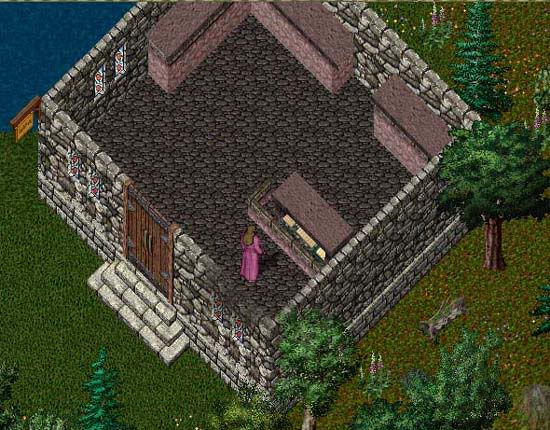
Here is your final piece:
Lower it and chop the gazas:
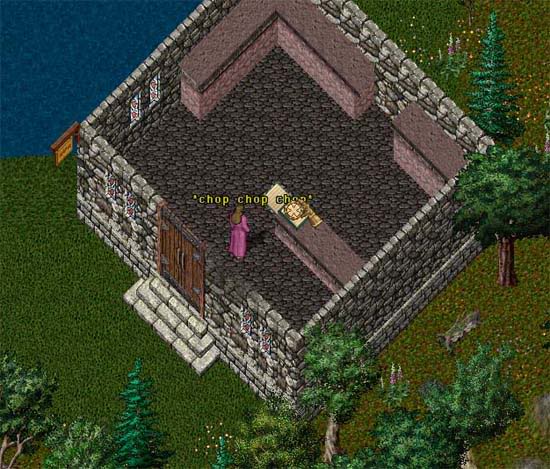
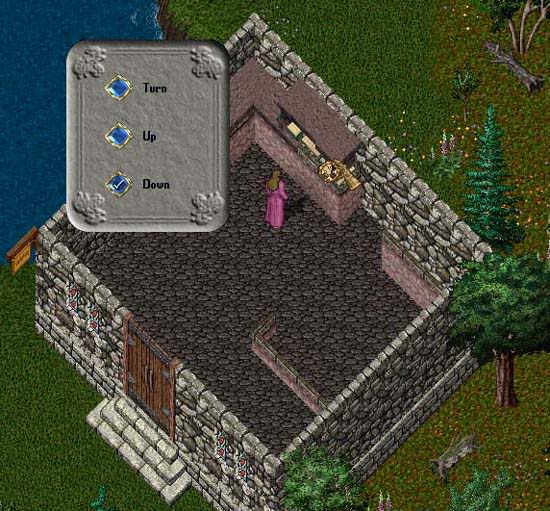
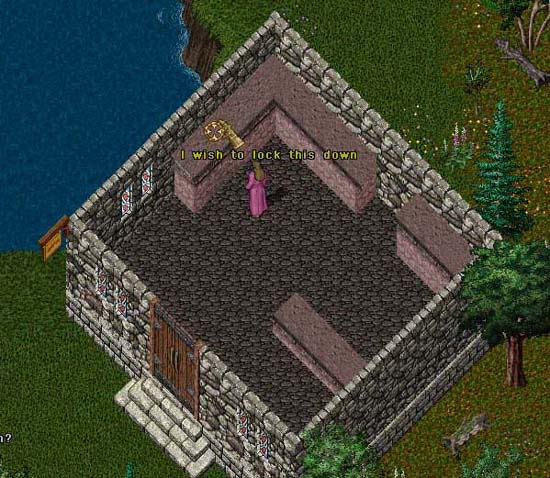
TIP: If you enter the customization menu now or in the future, your table sections will vanish. In order to customize after placing counters, you MUST lock each piece down each time you want to customize. This is a daily feature – each day at server start, the tables reset and are no longer locked. They will not vanish and do not need to be locked unless you plan on customizing.
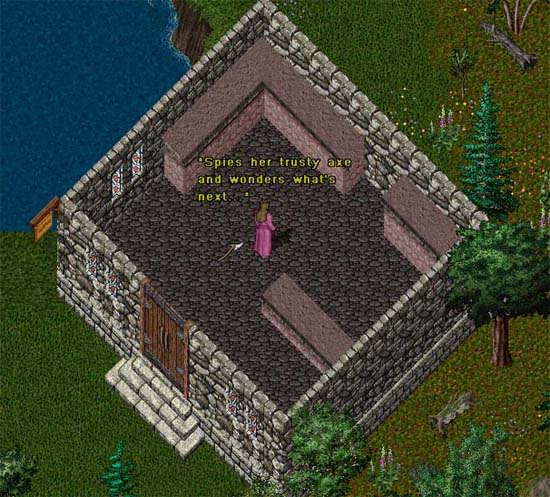
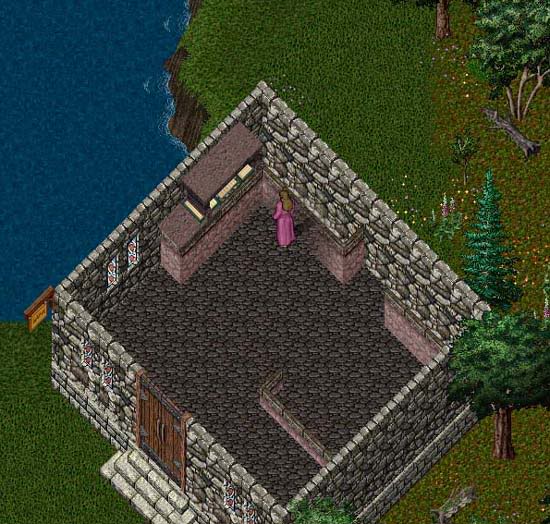
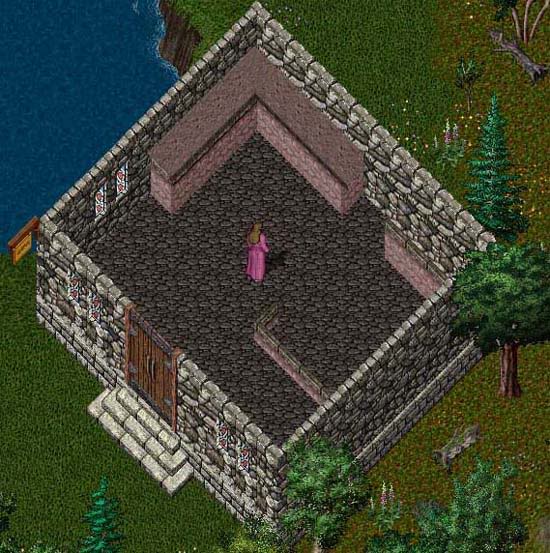
And there it is: Your stone counter kitchen!
Ashyn
July 2008
Last modified: January 7, 2014


