


Abyss Entrance – Garamon’s Quest
Return to: Questing| Quest to Enter Ter Mur |
| By Tina Small, September 2009 |
| 1. Before starting the quest, be sure to grab some greater conflagration and explosion potions, or go with a character that has the ability to cast area effect type spells while taking on small amounts of damage. In the Underworld, you may encounter a “shadow dweller” character that leeches life in small amounts and can only be killed through area effect damage, as you cannot bring up its life bar. You will know it is around if you start losing hit points and see a small fuzzy cloud floating near your character. Kill it and take any useful and interesting loot it drops.Recall and run or sail to the north or the west side of the Isle of Fire in Trammel. (Tip: Use a rune for the Humility moongate and go west to the beach to launch your boat.) Sail up to the beach on the west side of the island. Disembark and dock your boat. | 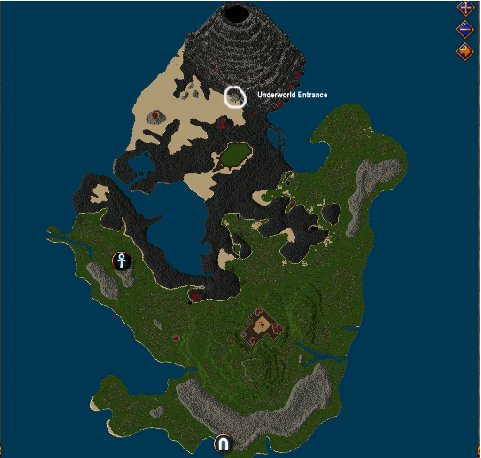 |
|||||||||
| 2. Dock your boat. Run inland and mark a rune or two outside the entrance to the Underworld. Then go inside. Be sure to stop in the guard room and listen carefully. | ||||||||||
 |
 |
|||||||||
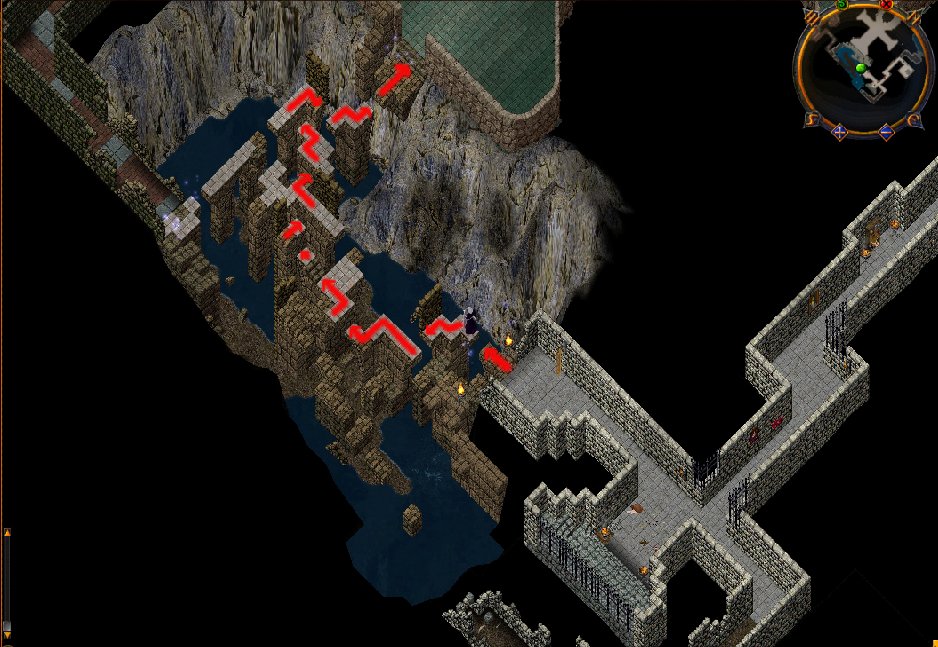
3. Map of the Underworld. The numbers on the map correspond with locations mentioned in this guide. Fuzzy pink lines indicate locations linked by sparkly gates.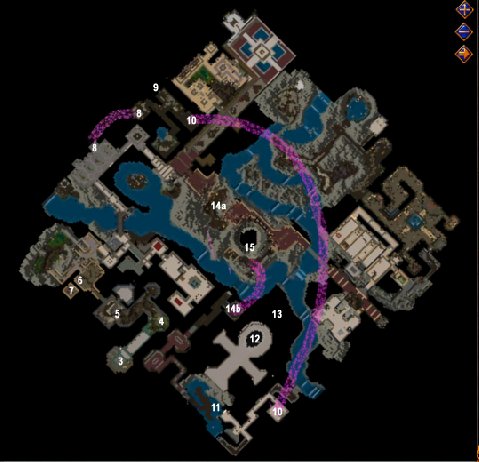 |
||||||||||
| 4. Inside the dungeon, approach Garamon. He is the NPC that directs your quest to find a triumverate key that will allow you to enter the Abyss. Try a few keywords on him, e.g., “Abyss,” “Underworld,” etc. Return to him at any time if you need a hint on how to proceed. | 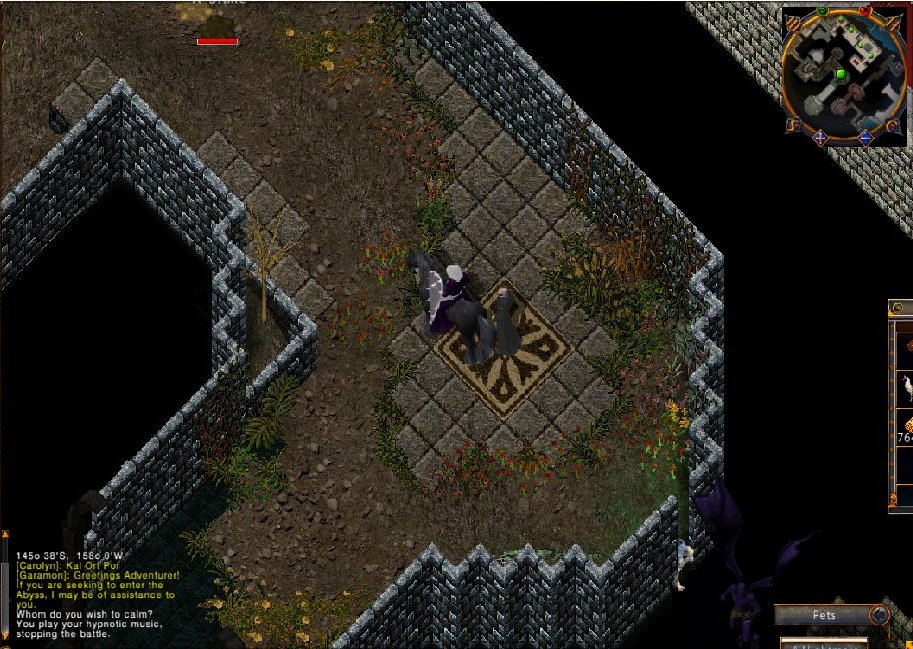 |
|||||||||
| 5. Proceed to the west and kill acid slugs. Take any acid sacs you find as loot. You will need at least two acid sacs. (Grab other interesting loot. You may want it later.) The slugs can do a lot of damage very quickly, so watch your health. A good tactic can be to slowly edge your way towards the slugs and cast an EV in their midst and loot the ones closest to the edge. The slugs cannot climb very high up the slopes of the pit or depression they are in, so they generally will not follow you very far if you need to get away from them. | 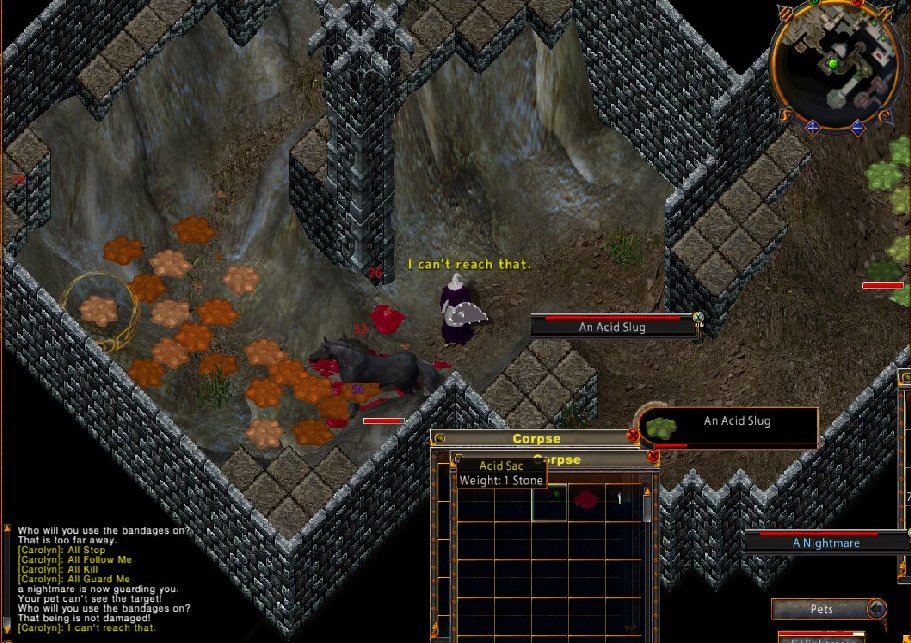 |
|||||||||
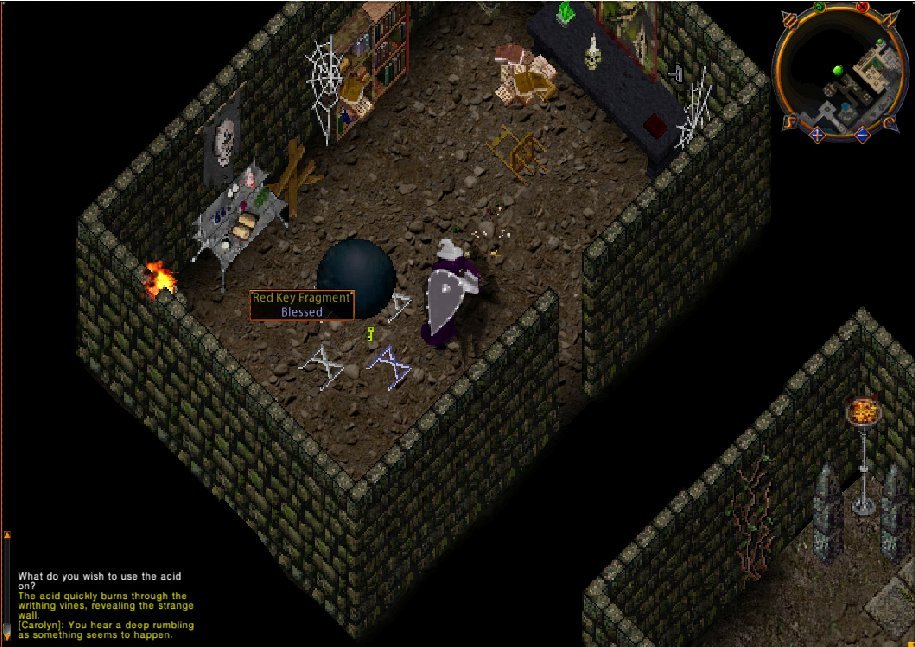
| 6. Continue through the dungeon to the west to the next room. Notice the message about the vines covering the wall. If you wish, try cutting the vines with a bladed instrument. If you wish, go back to Garamon and ask him about the vines. (He will tell you that you might want to try to burn them.)Standing next to the wall, click on an acid sac and target the vine. After the vine has burned away, click on the exposed wall to open a secret passageway. Walk down the secret passage. | 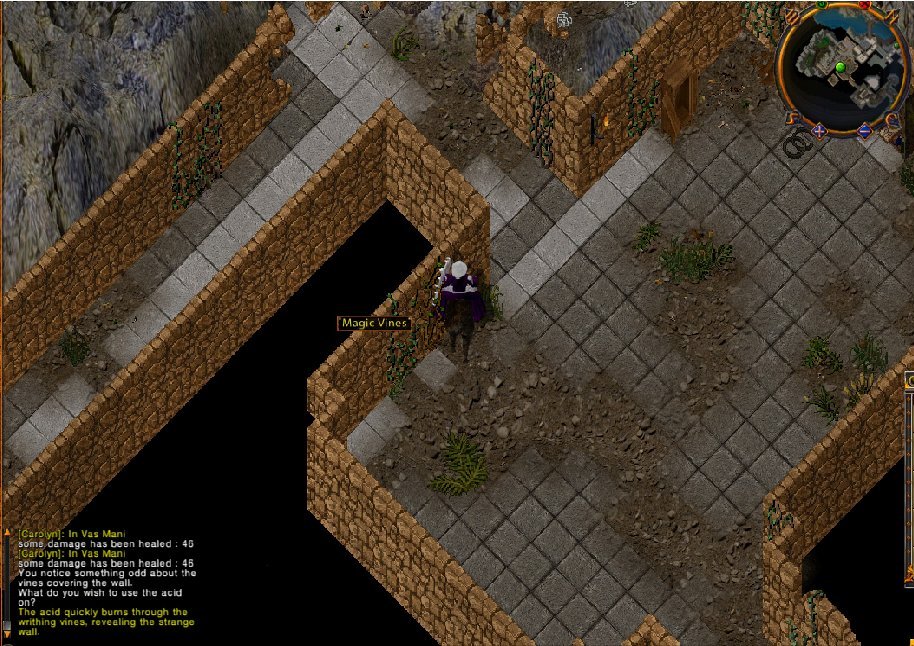 |
|||||||||
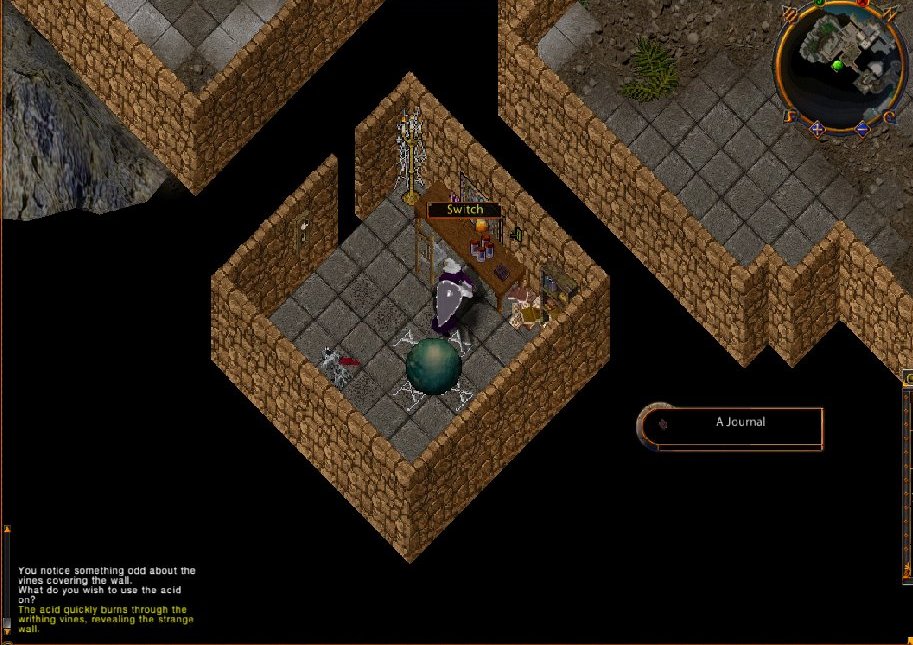
| 7. Inside the secret room, read the journal. Then click on the switch on the wall. When the globe has risen sufficiently, click on the exposed key to make a copy. Notice the timer on the key. Return to the room with the vines on the wall.[Journal text: “A journal. Author: Garamon.
“Today I have hope again. It has been too many days since my brother Tyball and I inadvertently released the Slasher of Veils in this world. How could we have known our research in planar travel would have such dire consequences?“But we have devised a plan. We completed the construction of a Chamber of Virtue. Tonight I will lure the Slasher of Veils inside it so its virtuous energies may weaken the beast. Tyball will lock us in while I open a rip back to the Slasher’s own plane and lead him through. A portal already awaits me in that foul place which will lead me back here to safety. “If all goes according to plan, we will have undone the wrong we brought onto Britannia. We will have redeemed ourselves. May the Virtues give us strength.”] |
 |
|||||||||
| 8. You now need to proceed to the west and north and use the sparkly gate in the top west corner of the room with undead spawn This will take you to a lower level where you may encounter a greater poison elemental. | 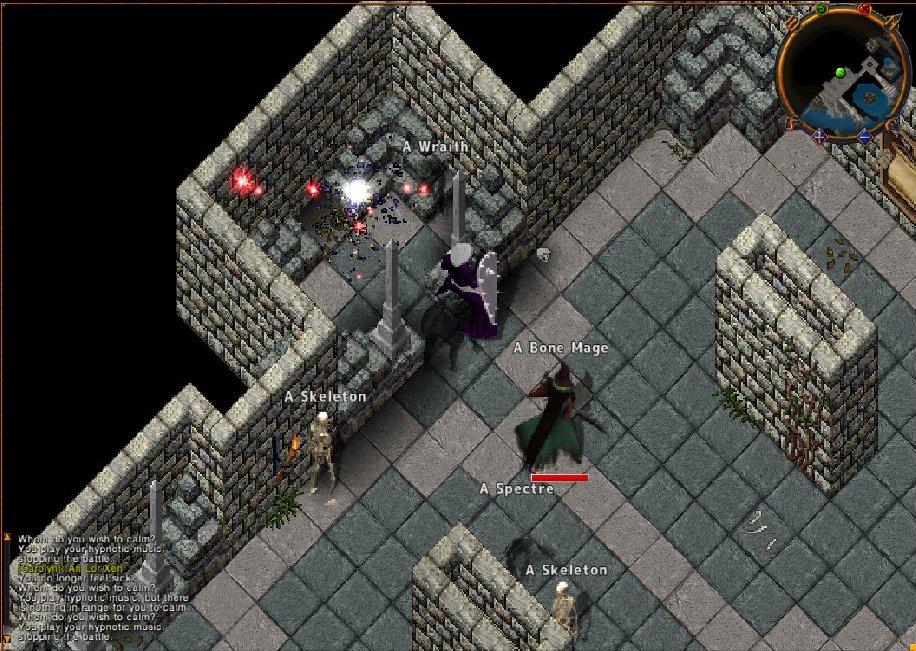 |
|||||||||
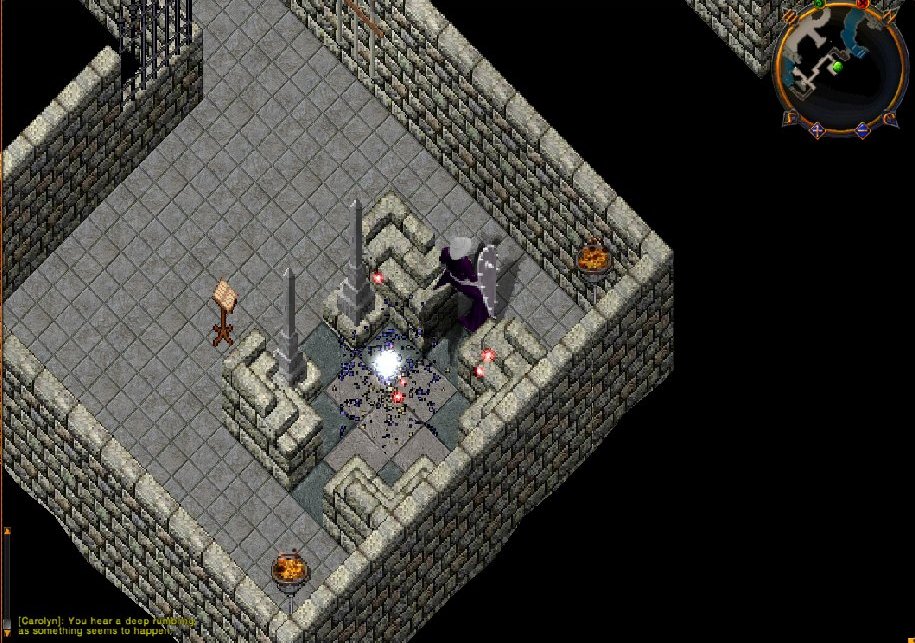
| 9. Go north, then east, then north, and then west until you reach another wall covered by a vine. Burn the vine with an acid sac and enter the secret room. Read the journal. Flip the switch. Make a copy of the key by clicking on it.[Journal text: “A journal. Author: Tyball.
“He speaks to me…. I can hear him. The beast… He knows of our plan. But how? “Such wonders, such powers, and such wealth he promises. But at what cost? That it could ask me to sacrifice my beloved brother. I cannot. I will not. No knowledge, no greatness could warrant such infamy. “But the seed of a doubt is gnawing at me. Did the Slasher make the same offer to my brother? Is he playing us against the other? Would Garamon even entertain the thought? No, not my virtuous brother. If he did, I would need to strike first. Only to protect myself, of course. “I must banish the doubts from my mind. They are like poison. We cannot let this fiend divide us.”]
|
 |
|||||||||
| 10. Leave the secret room and proceed straight east until you reach another sparkly gate. Using the gate teleports you to the other side of the Underworld | ||||||||||
 |
 |
|||||||||
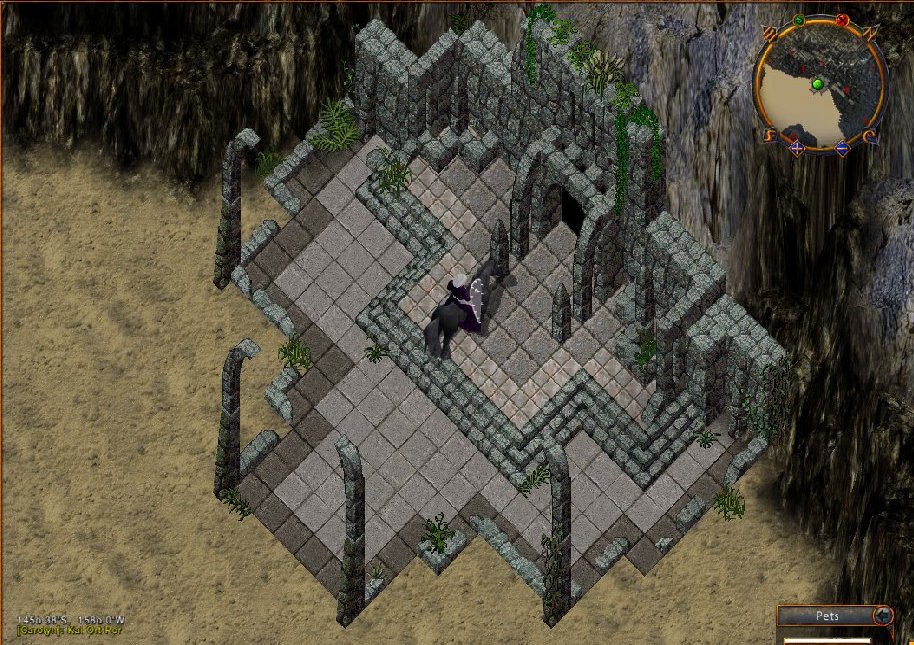
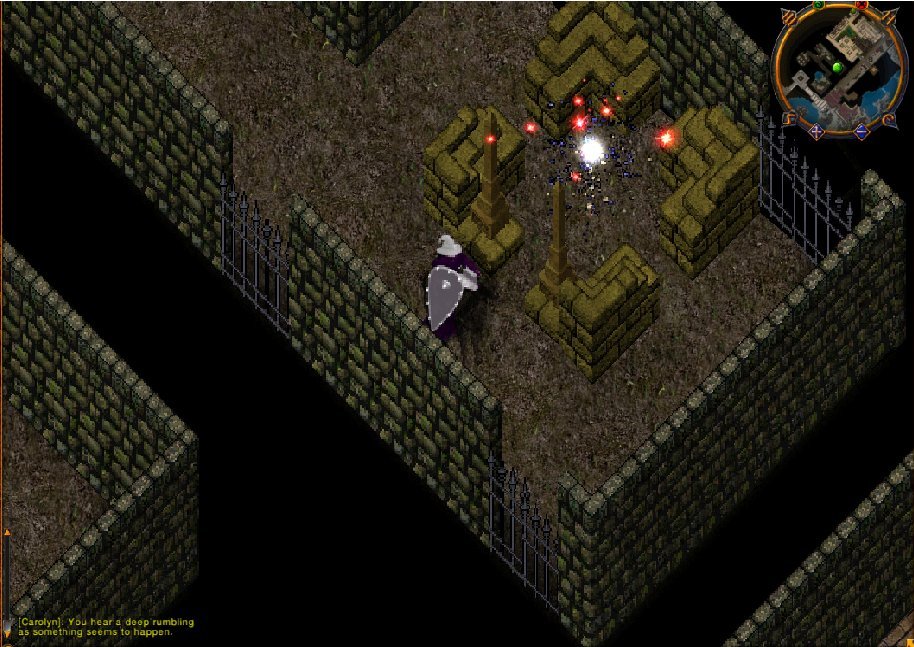
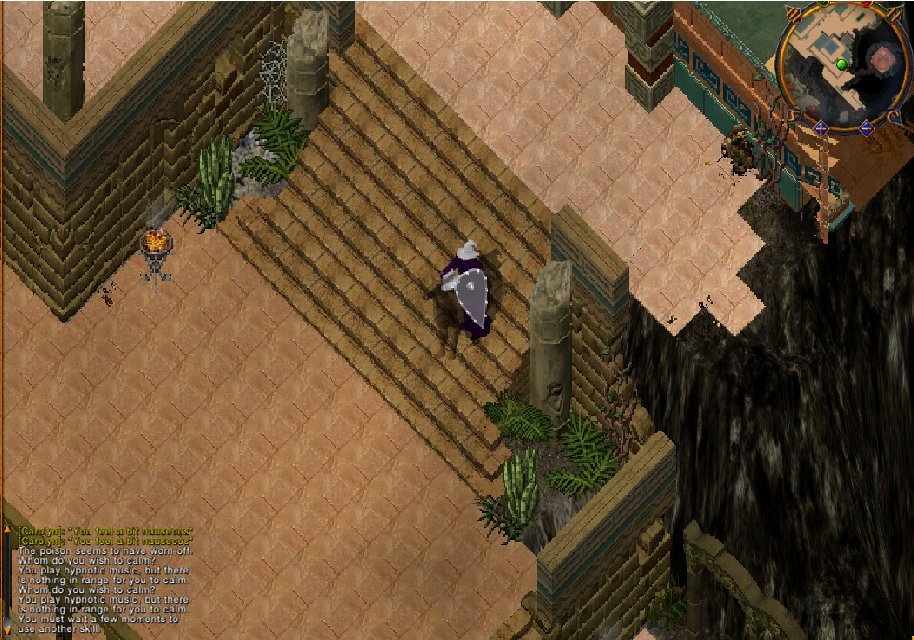
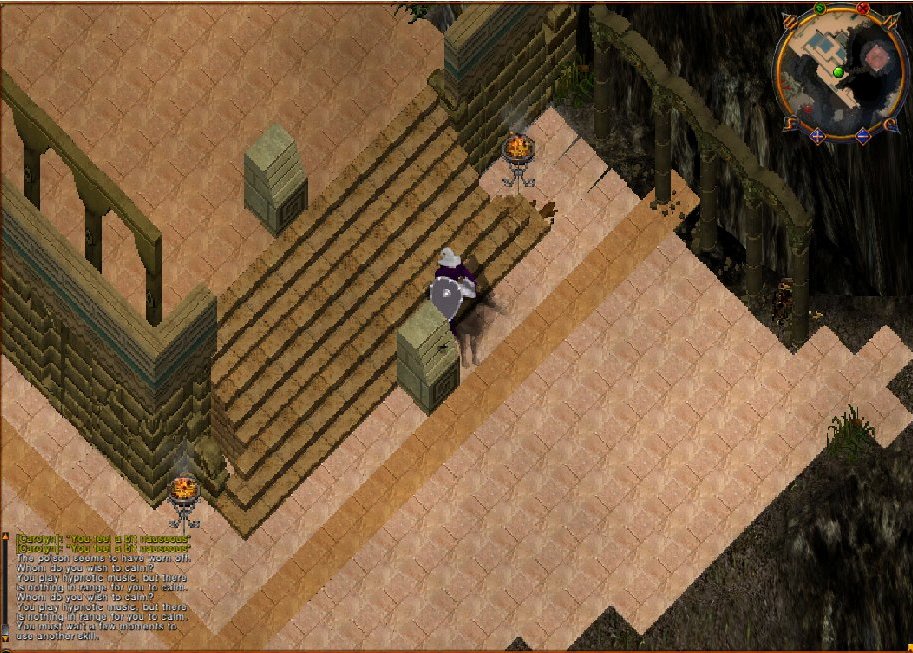
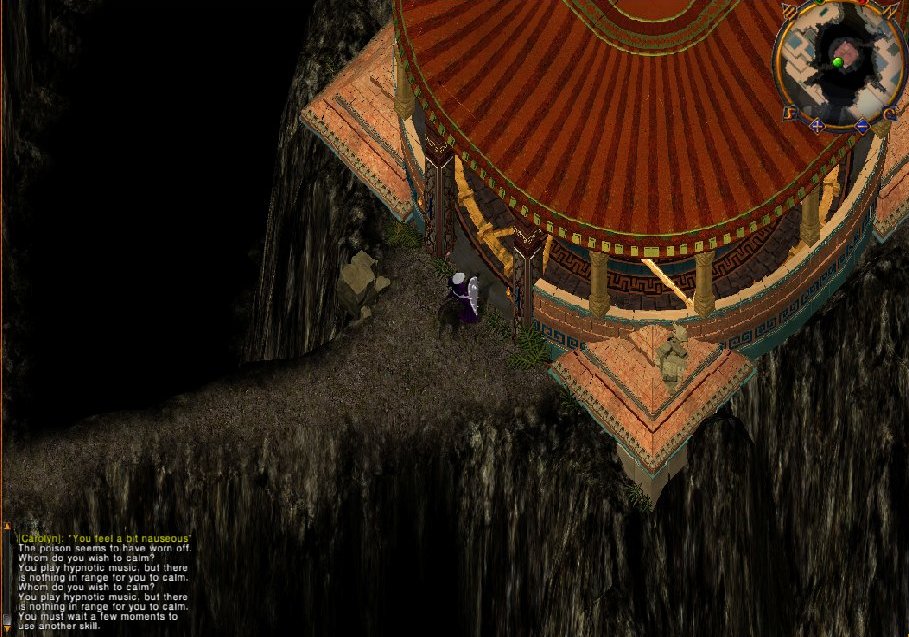
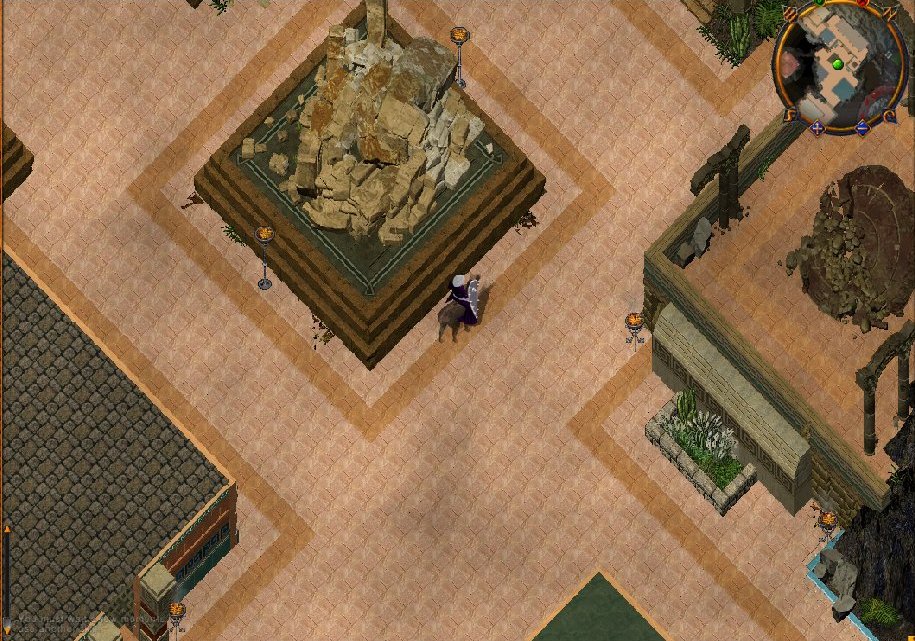
11. Proceed to the south and then to the west until you reach an area filled with crumbling ruins. Carefully cross the ruins to get to the large room shaped like an ankh. This room may contain an Enraged Earth Elemental and Tangling Roots. If you fall off, start over at the short block at the bottom of the room.
 |
||||||||||
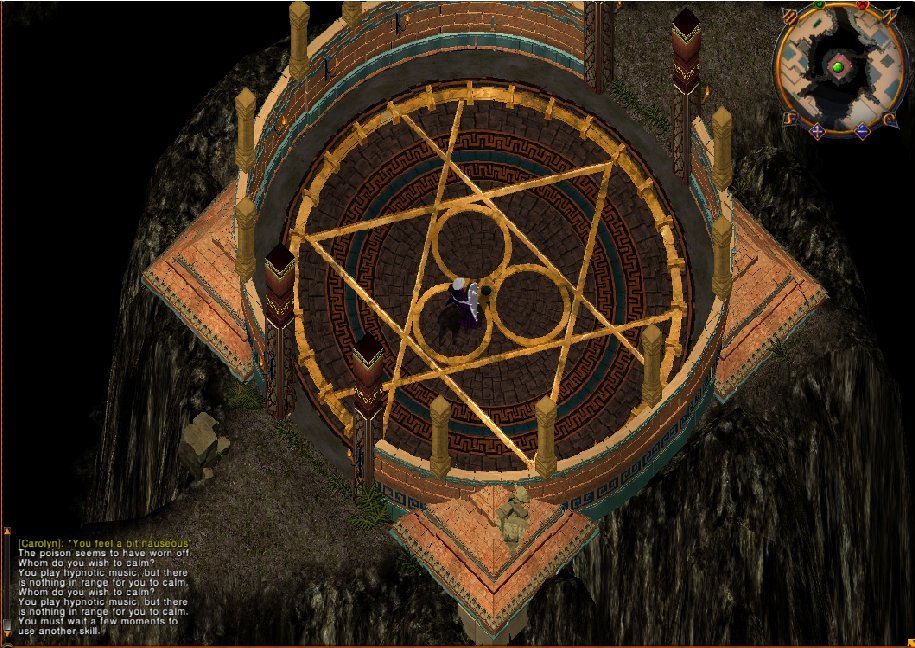
| 12. Use the red moongate at the north end of the Ankh Room. | 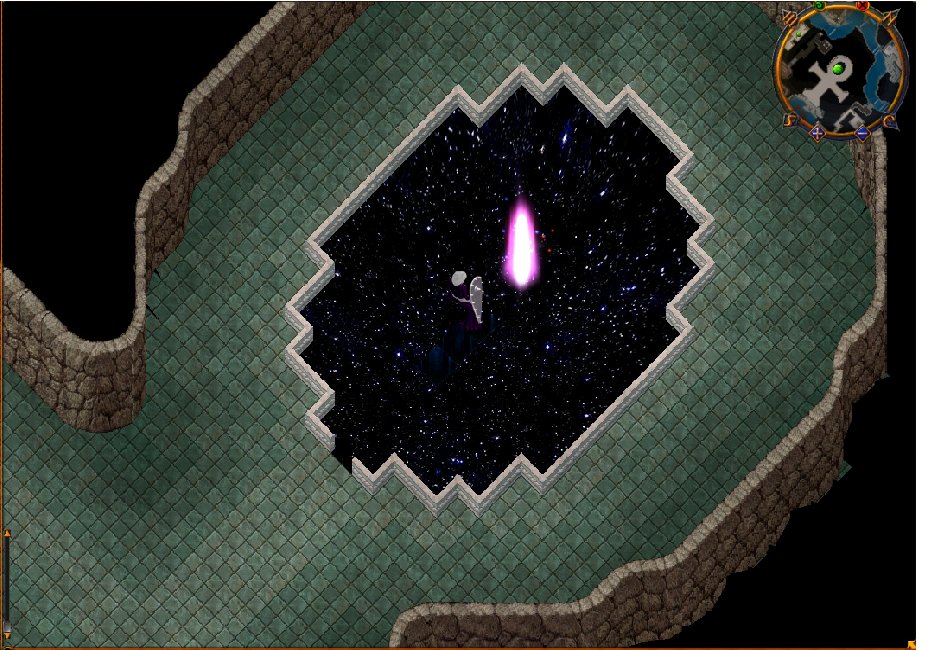 |
|||||||||
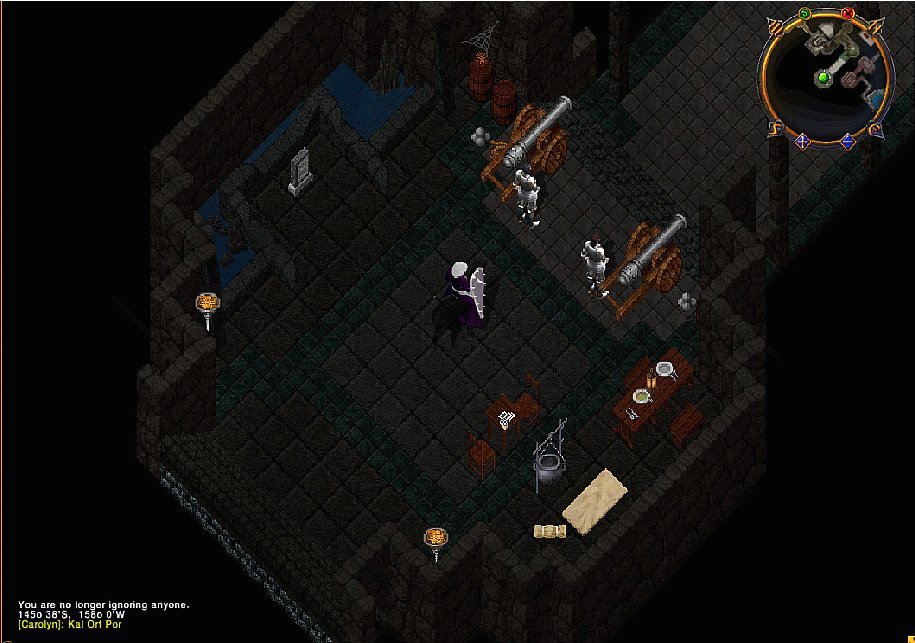
| 13. You will now be teleported to a special room that is not on the map. You will need to kill the Shade of Tyball. You may find a special cloak in the loot. After you have killed the shade, click on both of the keys you already have to receive the triumvirate key. You can now enter the Abyss and traverse through to the Tomb of Kings in Ter Mur. | 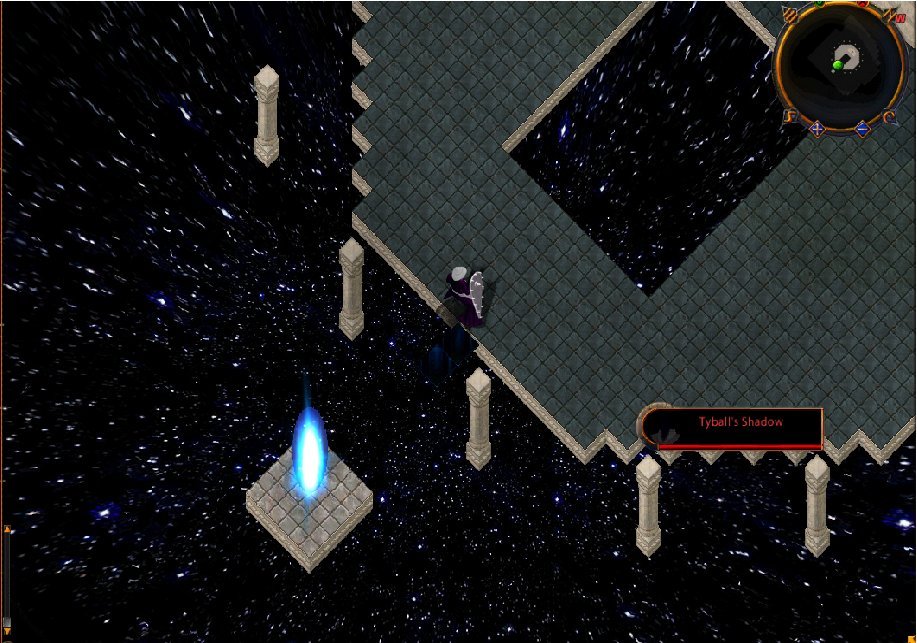 |
|||||||||
| You now need to navigate through the Underworld to the entrance to the Abyss. You can backtrack through the maze and teleporters and through the central part of the Underworld (a sure-fire way to get to the Abyss entrance.) One of the rooms in the center of the Underworld that you must pass through contains Tangling Roots and may also contain Enraged Earth Elementals. Proceed carefully around the Tangling Roots and be careful if you decide to kill one of the elementals, especially as it nears death | 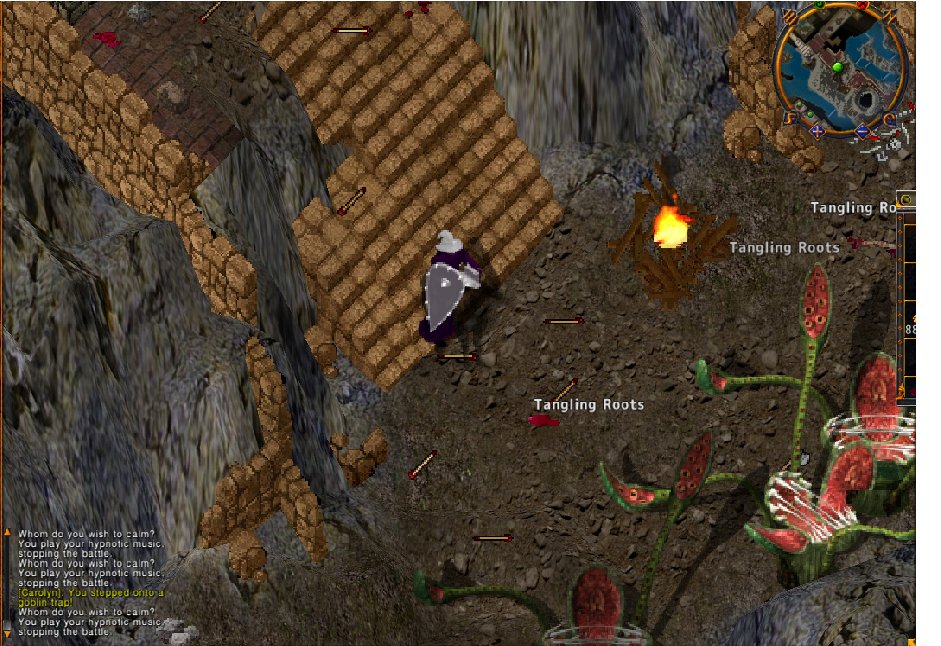 |
|||||||||
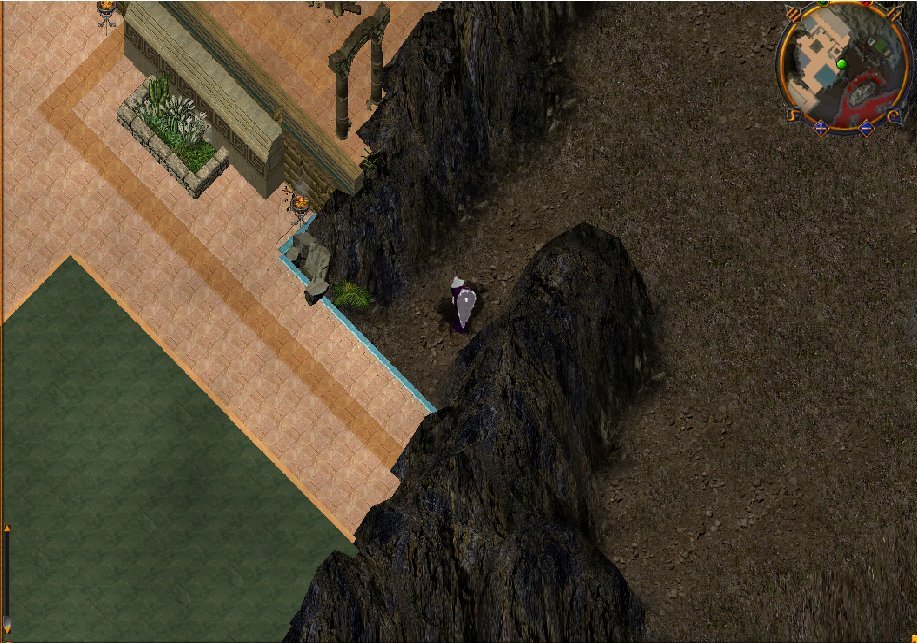
| As an alternative, recall to the entrance of the Underworld and use a hidden door to the east of Garamon (see picture for step 4) and an invisible path to reach the next corridor. (I’m not sure you can use this path before you get the triumvirate key.) Follow the corridor north until you hit a ruined bridge. To the east of the ruined bridge is a room with a sparkly gate that will drop you in front of the entrance to the Abyss. Gargoyles can fly over the ruined bridge. (Dragons can too, but get stuck trying to step onto land on the far side.) | 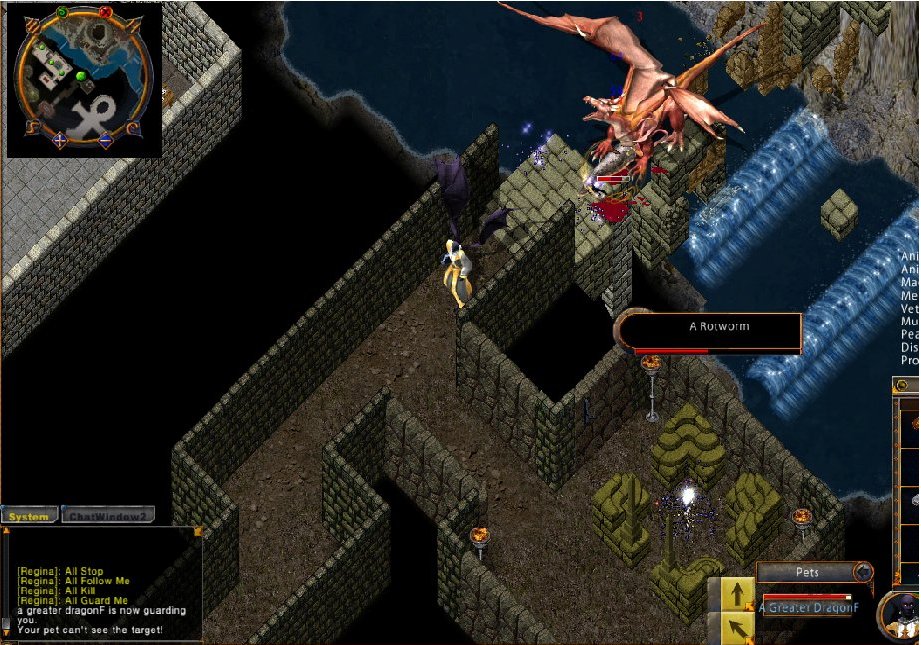 |
|||||||||
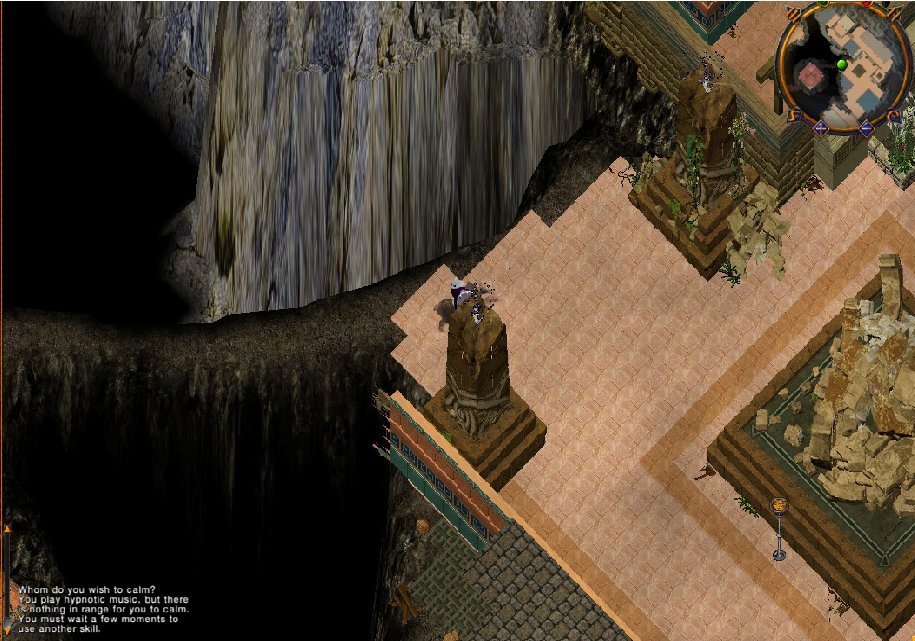
| 15. You should now be able to proceed past the stone statues guarding the entrance to the Abyss. Note that if you have an unmounted pet, your pet may not be able to pass the stone statues. If so, just walk past them and then log out and then log in again to retrieve your pet. (I don’t know if a pet summoning ball works…didn’t have a chance to test it.) | 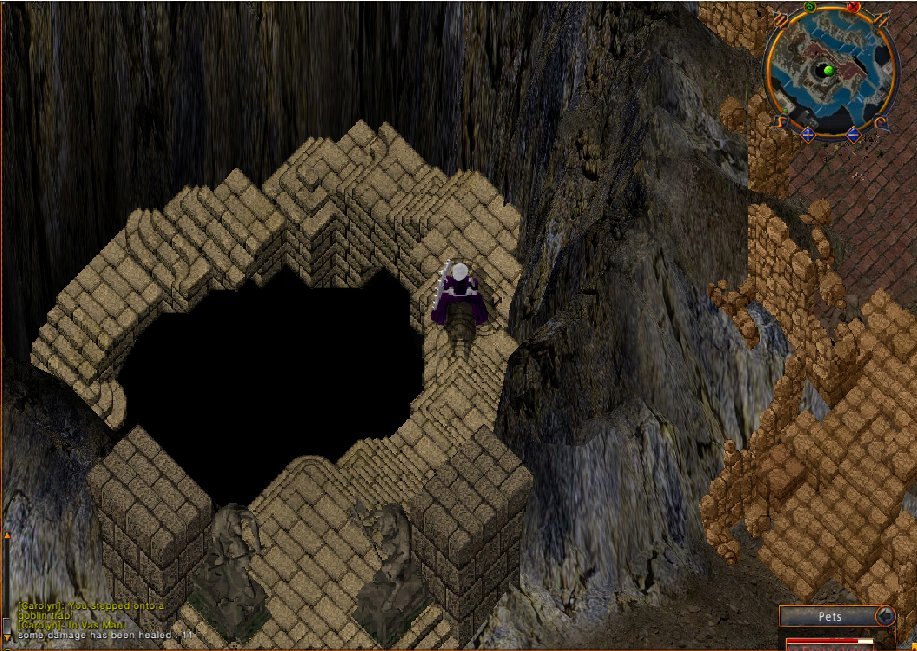 |
|||||||||
| 16. You are now inside the Abyss! Your journey to leave the Abyss will be long and may be dangerous. Carefully review the map below before you begin. | 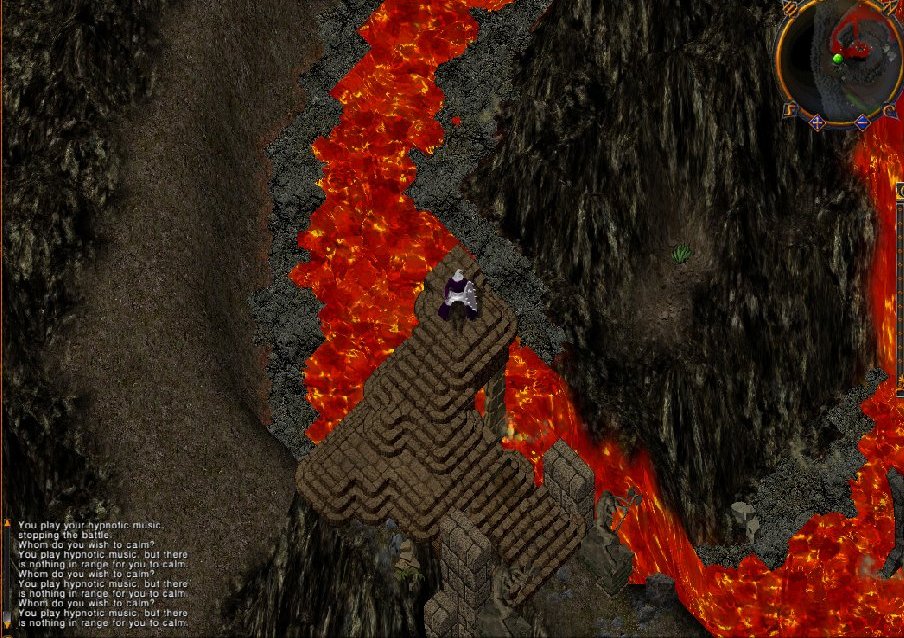 |
|||||||||
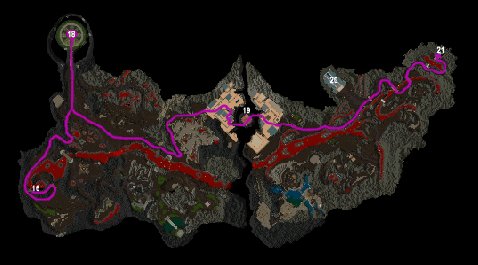
17. Map of the Abyss. Numbers correspond to steps in this guide
 |
||||||||||
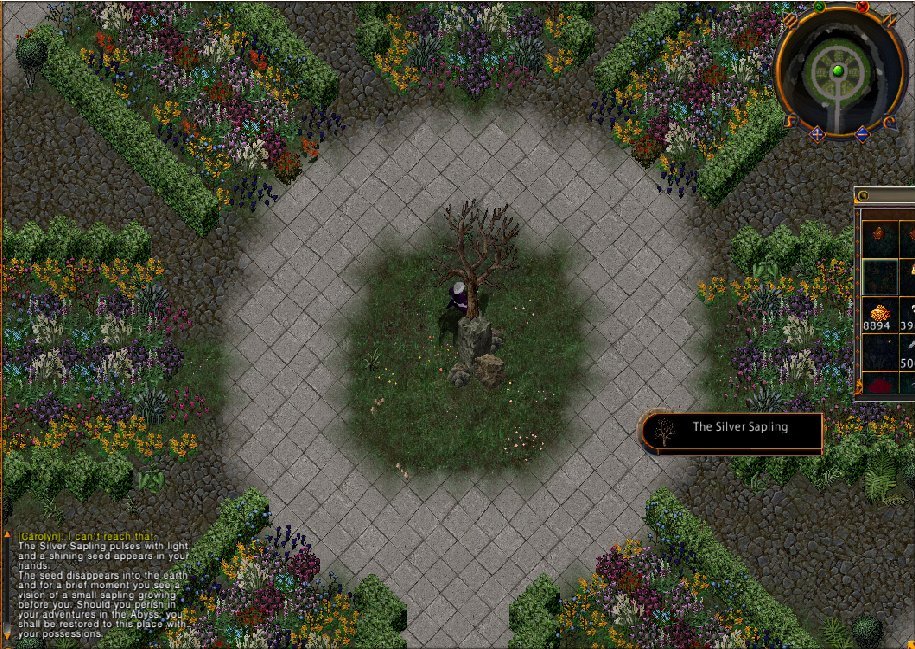
| 18. Loop around and up the left side of the Abyss until you reach the room with the Silver Sapling. If your character has negative karma, beware of “good karma” creatures (e.g., wisps, pixies, faeries) that spawn as you near the Silver Sapling room.In the Silver Sapling room, click on the sapling’s trunk to receive a special seed. I suggest that you plant the seed in this room. The seed will be planted wherever you are standing at the moment you click on it. Notice the message that appears after you click on the seed: “The seed disappears into the earth and for a brief moment you see a vision of a small sapling growing before you. Should you perish in your adventures in the Abyss, you shall be restored to this place with your possessions.”
Leave the Silver Sapling room, head south and then in a westerly direction. |
 |
|||||||||
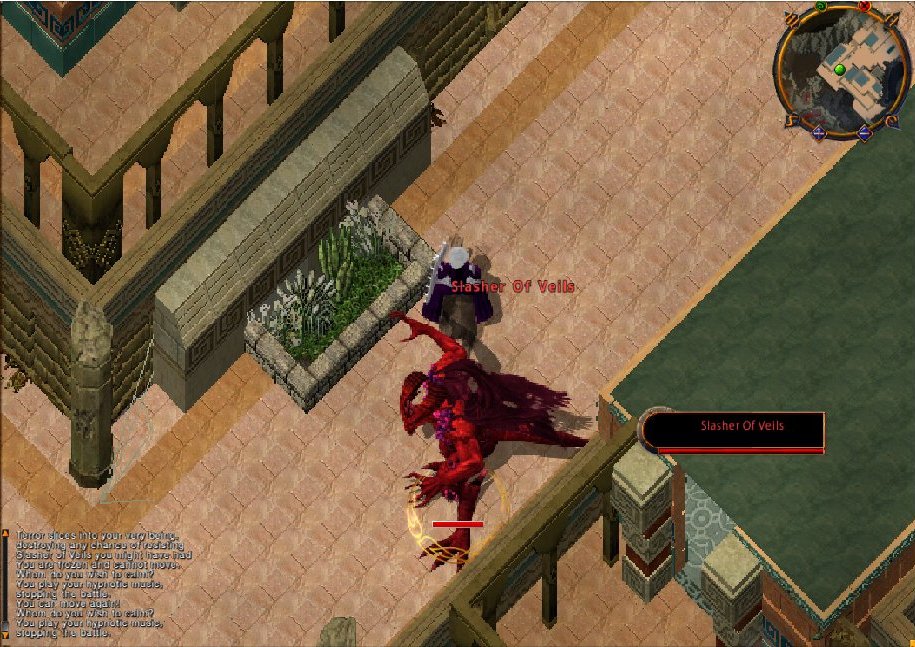
| 19. When you approach the buildings in the very center of the Abyss, be on alert for the Slasher of Veils. During beta testing, there was no other spawn in this area. The Slasher will freeze you in place when it first notices you. Once you are able to move again, do not linger! Run, run, run! | ||||||||||
|
||||||||||
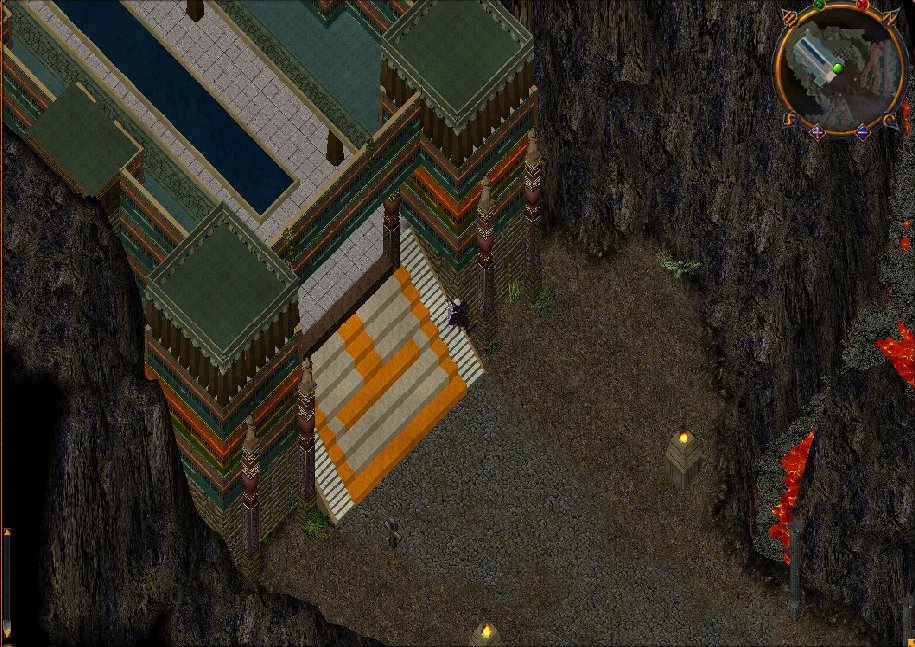
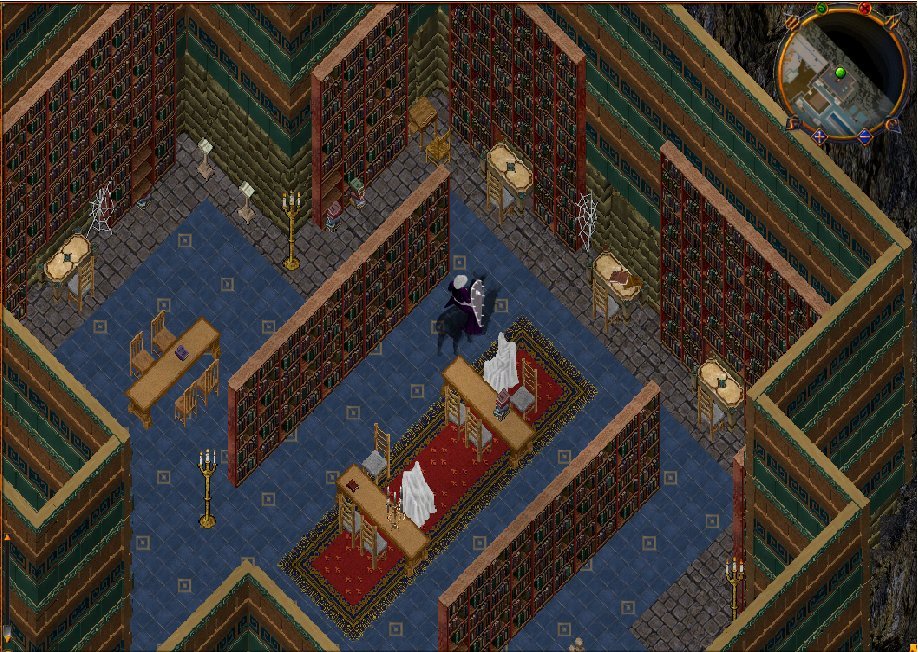
| 20. A point of interest you will pass on your way out of the Abyss is the home of the Stygian Dragon. If no one has prompted him to leave the back of his home, you may wish to take a few moments to explore the hall and rooms in the front portion of the building. | ||||||||||
 |
 |
|||||||||
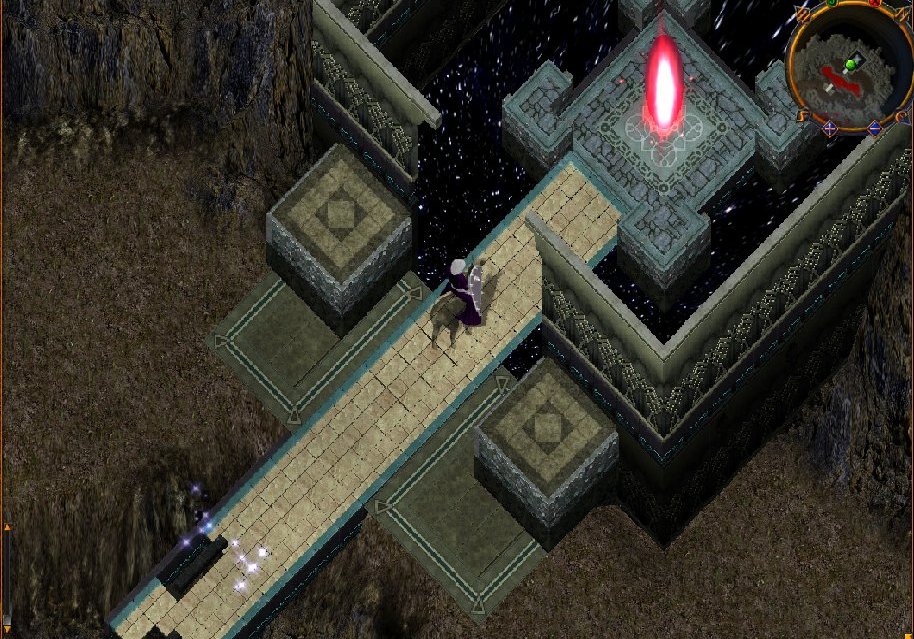
| 21. Ah! You’ve made it through the Abyss and you’re at the exit. Take a deep breath and step through the red gate and into the Tomb of Kings. Catch your breath as you watch the pathway slowly solidify in front of you…. | ||||||||||
 |
 |
|||||||||
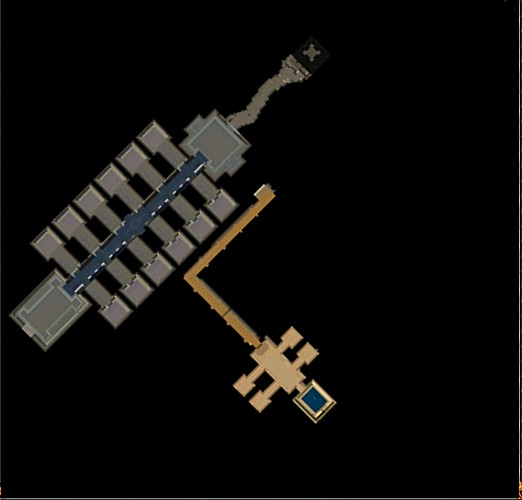
22. Map of the Tomb of Kings.
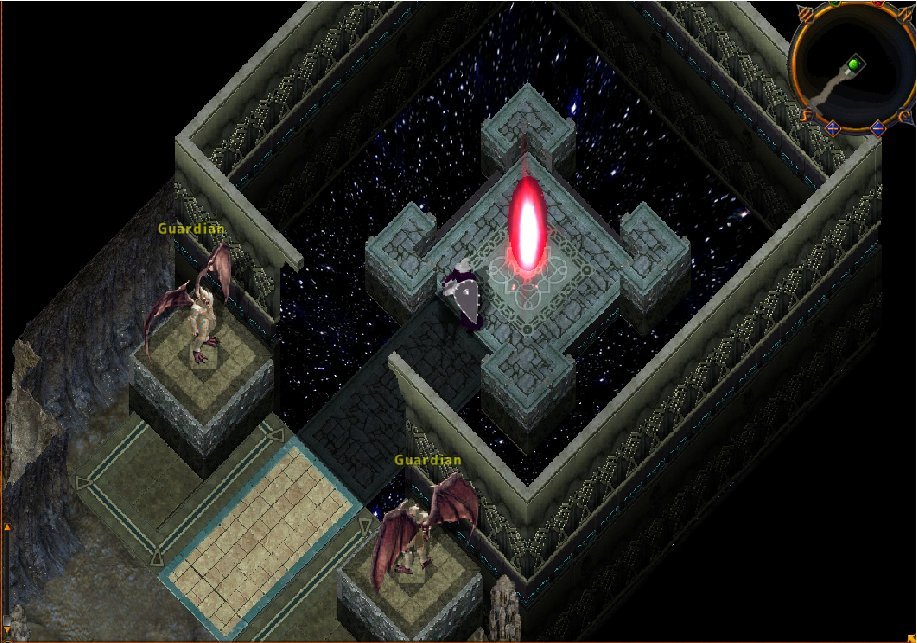
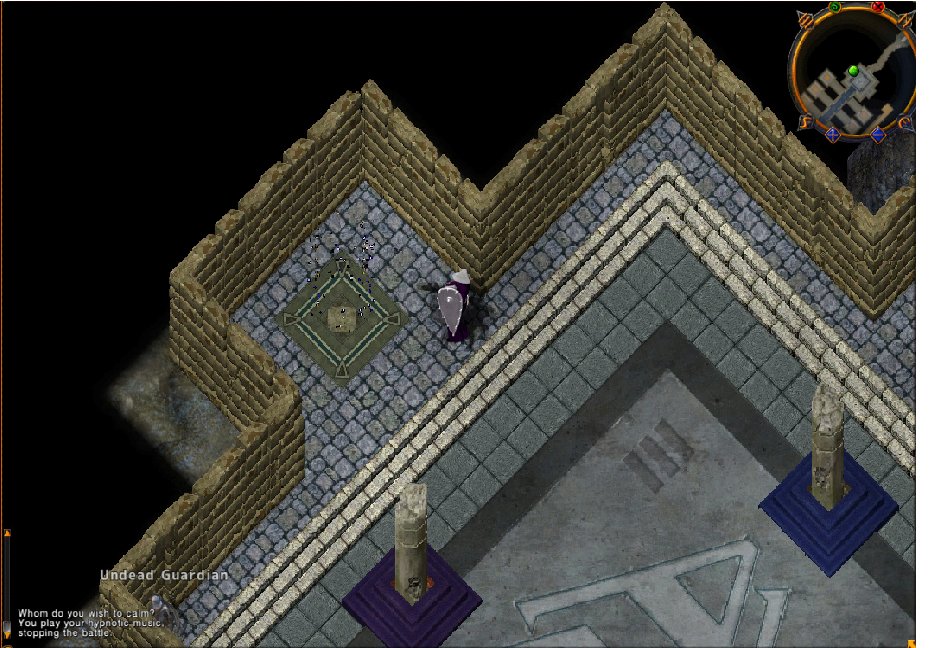
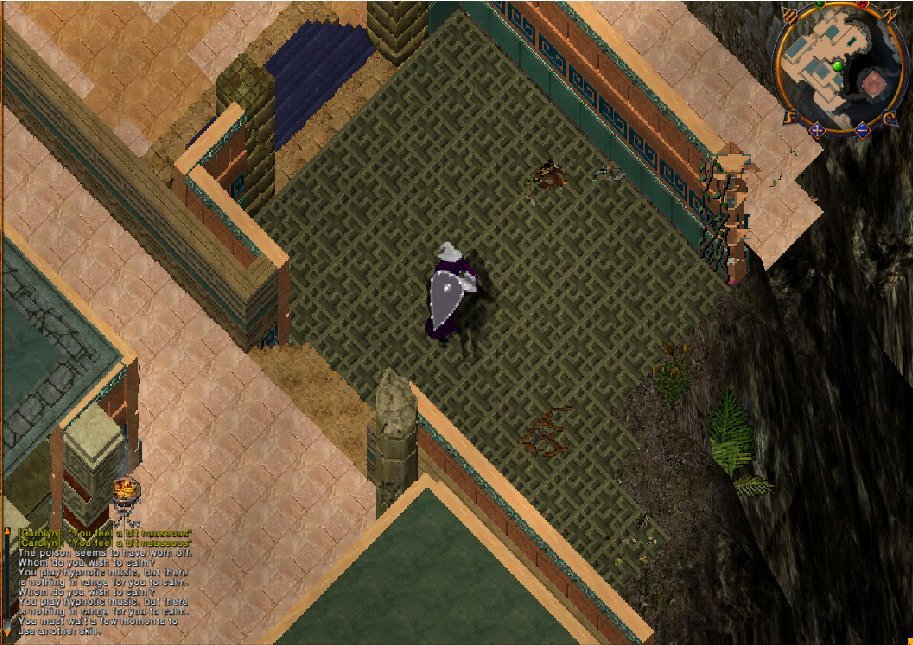
 22. Proceed past the Guardians and down the tunnel until you reach a large square chamber. Go west and use the sparkly gate. It will teleport you to the antechamber of the Tomb of Kings |
||||||||||
 |
 |
|||||||||
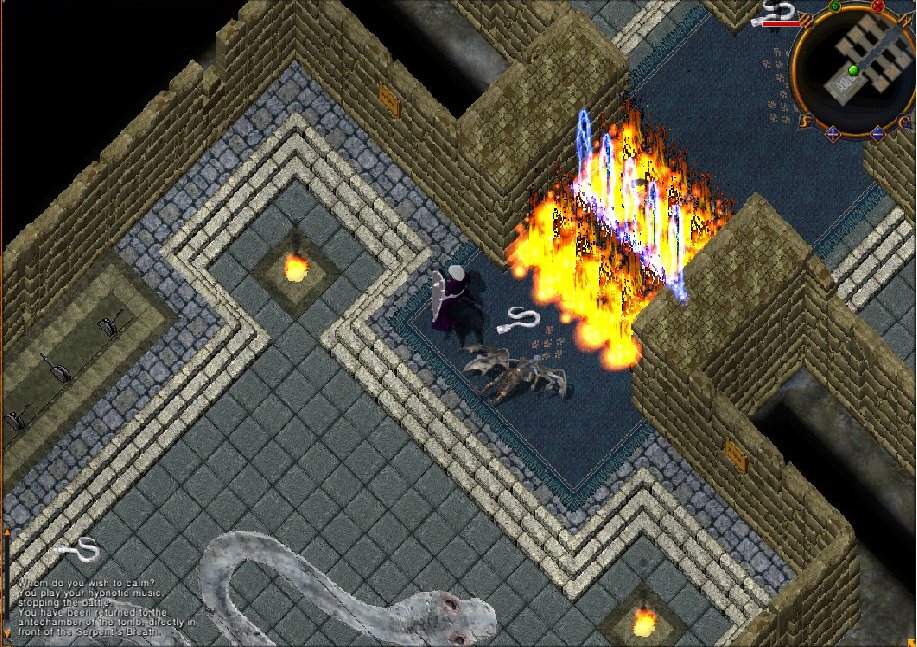
| 23. Proceed south and leave the Tomb of Kings. Congratulations! You have finally arrived in Ter Mur! To reach the Royal City, proceed to the west and then north. | 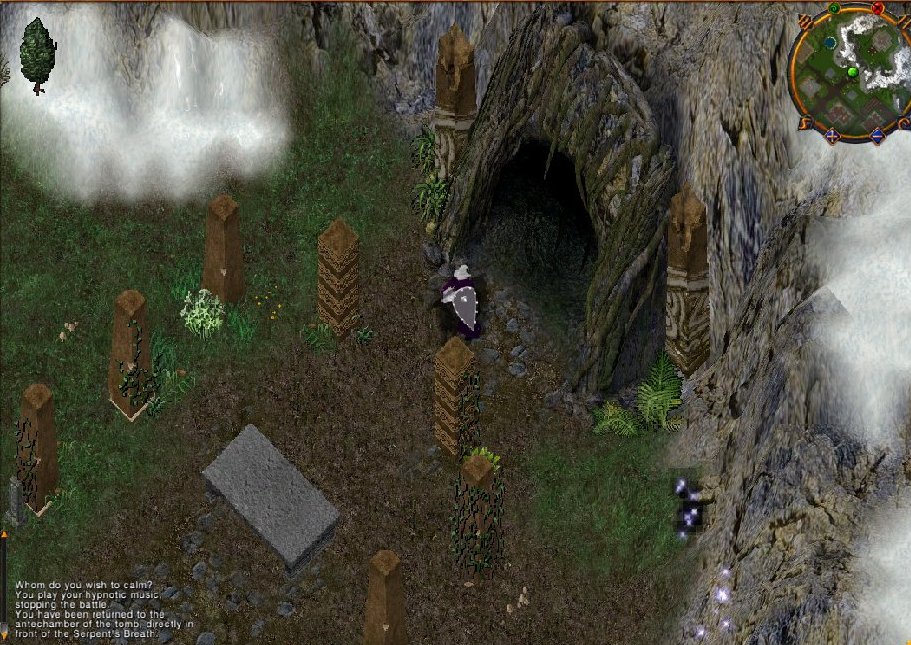 |
|||||||||
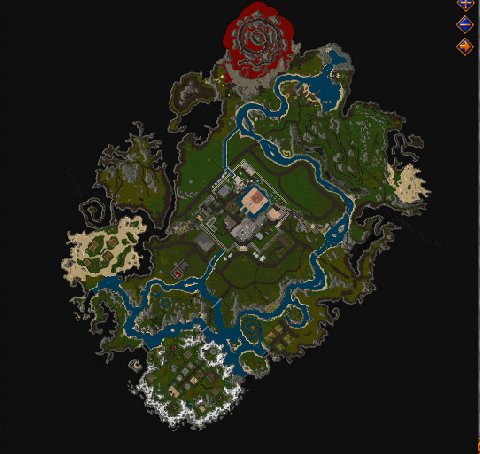
24. Map of Ter Mur. (The area that includes the Tomb of Kings is at the very bottom of the map.)
 |
||||||||||
Last modified: February 6, 2012