Tutorials – Building an Optical Illusion
Return to: Designing and DecoratingBuilding an optical Illusion
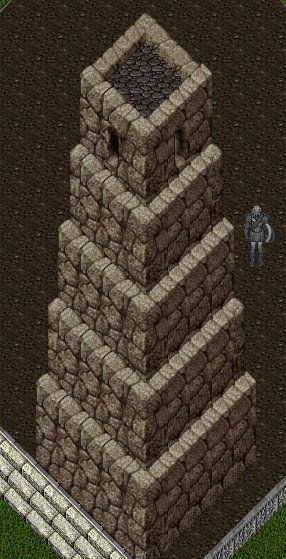
The basics behind an illusion house is that the south and east walls, along with the roof hide whats going on with the rest of the building. That being said, quite alot of frustration goes into a decent illusion build. Although single towers such as the lighthouse I built can be fairly simple except for the usual hang-ups, those being the Southeast corner.. and the top floor lining up with the bottom.
With any four floor+ tower design I always start at the top and work my way down. Nothing worse than spending a couple hours working your way up and finding you don’t have enough room to finish the look.
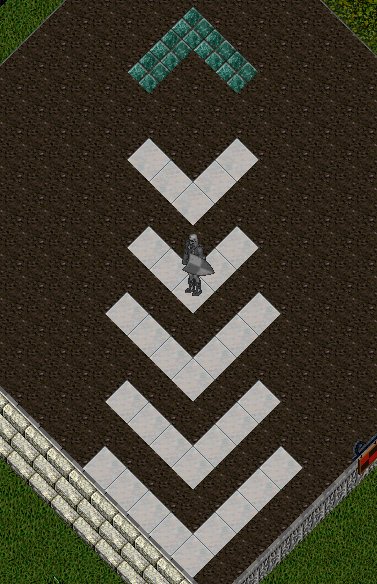
In this illustration I’ve laid out tiles for a five story tower. The white tiles represent the south and east walls of the tower while the north and west walls are represented by the green tiles.
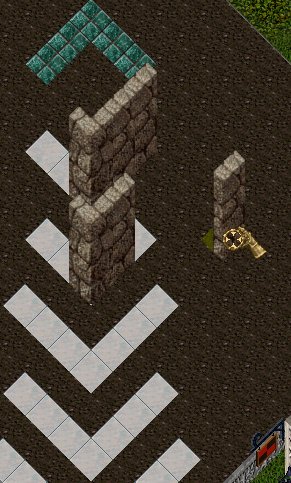
I’ll begin placing walls from the top,
down along the east side so you can see how they line up.
Here I’ve finished the walls down the east side and filled in the green tiles will a low wall to make up the north and west side of the tower.
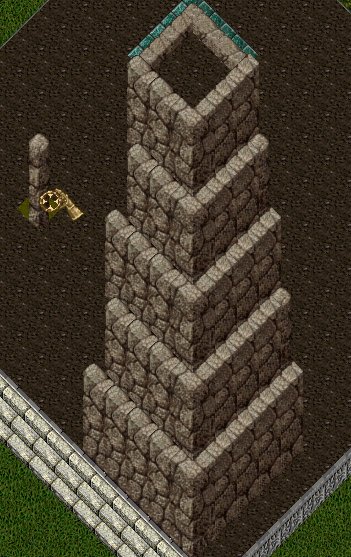
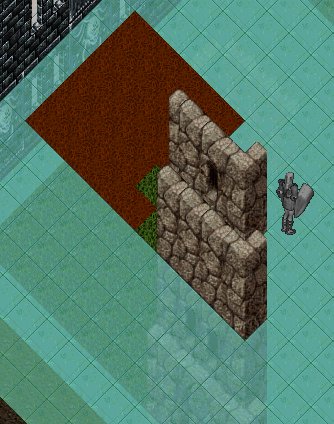
Now I’ve filled in the south walls, and you’ll notice that every other tier doesn’t line up just right with one above it.
Use that single wall section to even them out, here I’ve used another style of brick so they’ll stand out.
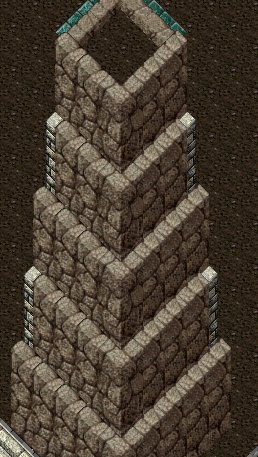
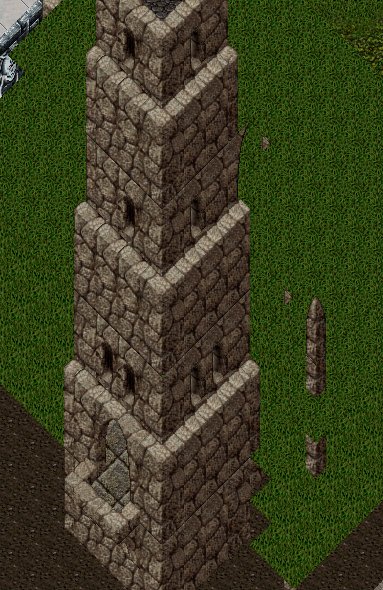
After removing the leftover green and adding a grey roof tile, I have a five story tower all of which is on the ground floor.
Building a tower over serveral levels gets a little more difficult.
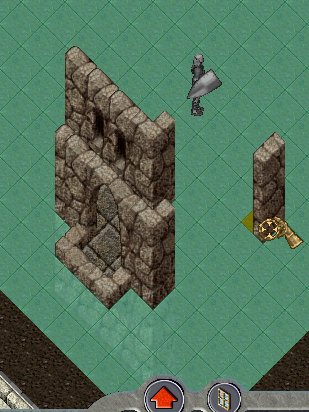
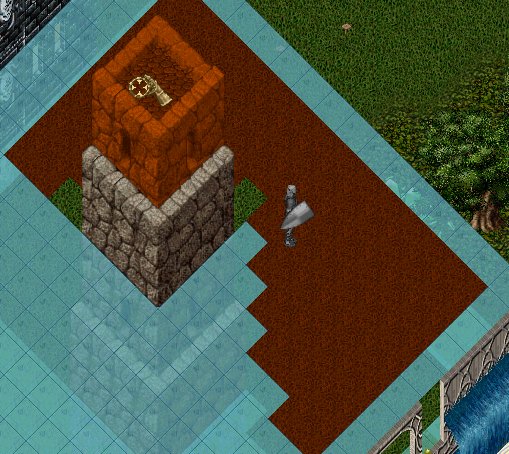
Here I’ve started a small tower with a balcony.
On the 2nd level I’ve added grass tiles out to the west.
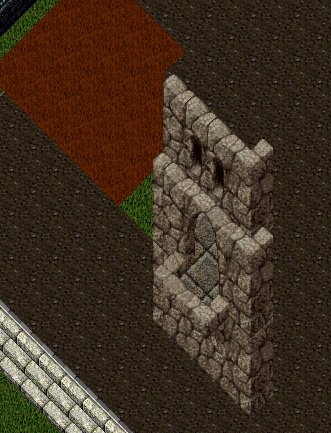
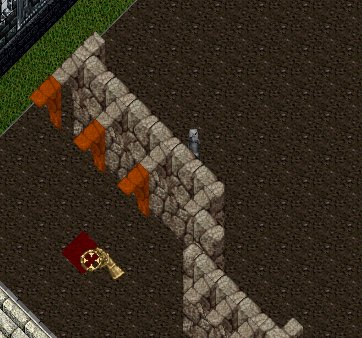
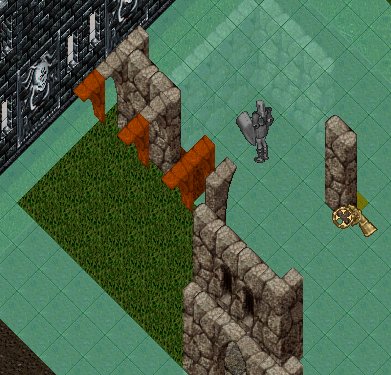
Then using half an arch as a place-holder I lined them up just under and along the south edge of the 2nd level grass line.
Then moving to where I can see them, I put another row one tile north of the place-holders and then delete the oranges.
Moving on to the 3rd level, I added another two floors and grass out to the west.
I then did the same thing on the 2nd level with place-holders and walls as I did on the 1st level. Now, I dropped back down to the 2nd level and added grass tiles to the east of the tower.
Use the same basic instructions for the west side here except for that southeast corner. There is no way, (known to me) not to have an exposed piece of wall here. If you delete that corner piece, it just makes the adjacent tiles turn orange too. Very annoying, as I’ve tried serveral diffierent decorations to try to hide these things with lesser or greater success.
Moving along, now that I have all the grass green again, I can streamline the supports a bit and flesh out the walls for the first floor. Repeat these steps for the second and third floors.
On the fourth floor I’ve added another two tiers and topped it out with low wall along the north and west side.
After filling in the flooring behind the tower, all the grass is green again and I have a seven story tower. Granted a little rough around the edges but some tweaking here and there along with some decos will fix things right up.
Building on these basics you can come up with all sorts of interesting house designs.
Surindur
July 2008
Last modified: January 7, 2014


