Tutorials – Ashyn’s Built in Oven
Return to: Designing and Decorating| Ashyn’s Built in Oven | Ashyn’s Sink | Ashyn’s Stone Kitchen | Building an optical Illusion | Roofing 101 | Spiral Stairs 101 |
Built in Oven
For this design, you will need:
- 1 South Stone Oven
- 2 South Facing Hardwood Tables
- 4 stools
- 1 chair
Here’s a little something I’ve not shared with anyone, and also not done for anyone but myself. As you all know, the stone oven is impossible to put in a room that has a floor above it – or so we thought….
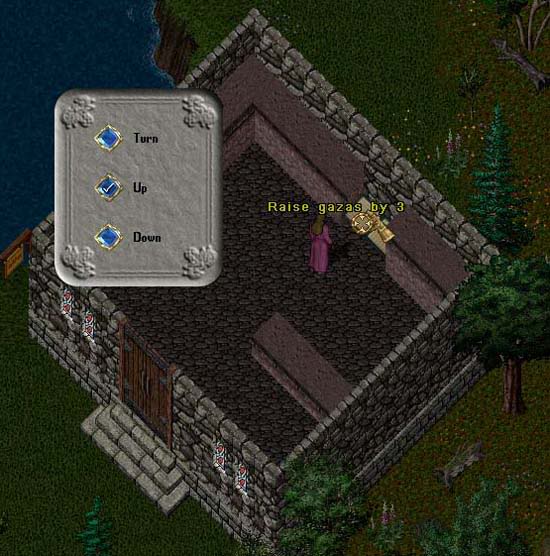
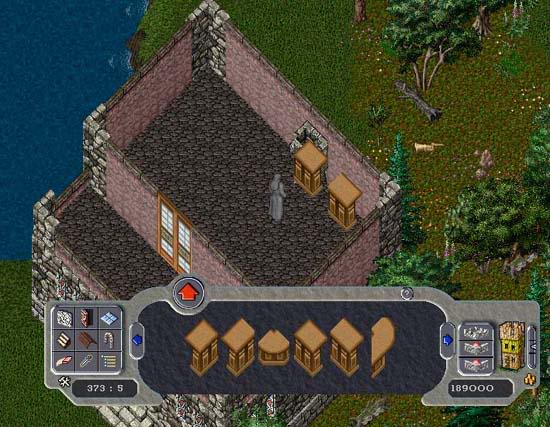
In the opening left in the kitchen, place two square gazas and raise them three times:
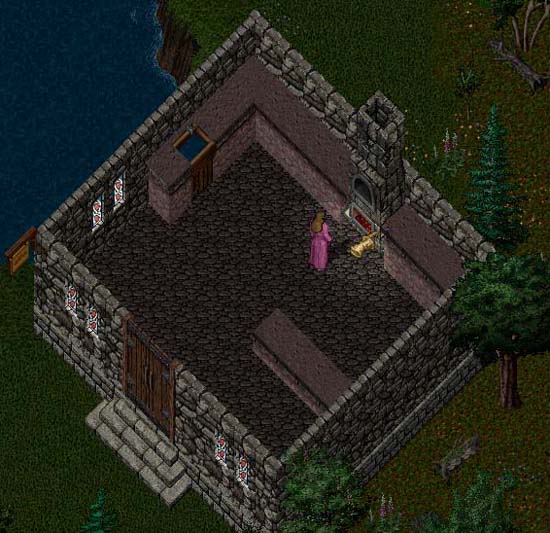
Place the stone oven on the gazas (keep in mind, I am doing this by starting without a floor above, but it can be done even if you have a complete design, just takes a bit more finangaling):
A small portion of the gaza on the left should be visible. Lower it twice and break the stone oven:
Lock down BOTH sections of the stone oven:
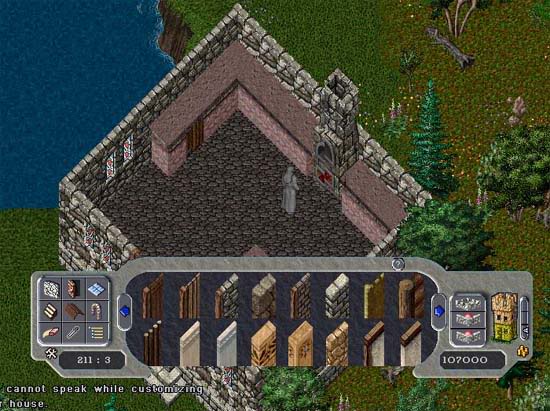
Enter customization (remember, all your sections must be locked down or you will lose them) – Lookie there!:
Go to the second floor and place floor tiles. Floor tiles over a stone oven? Impossible you say! Nope!
But what do we do with that pesky chimney that you can’t place anything over?
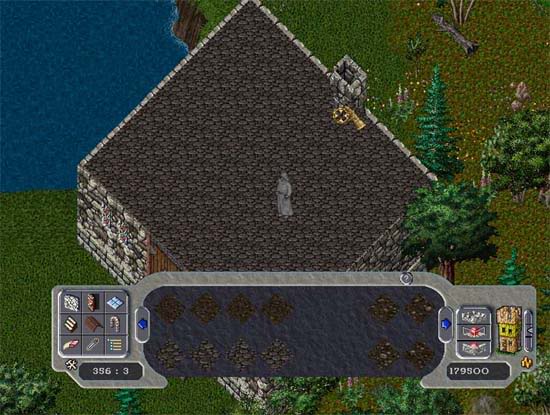
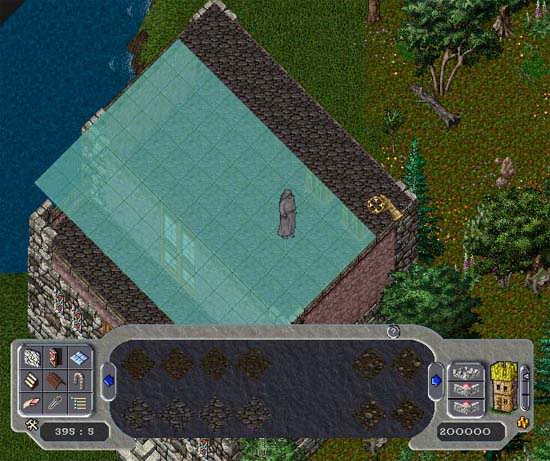
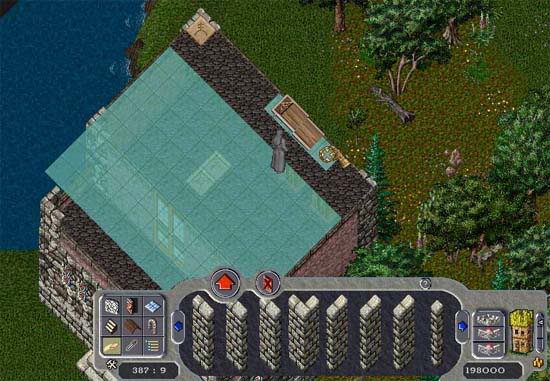
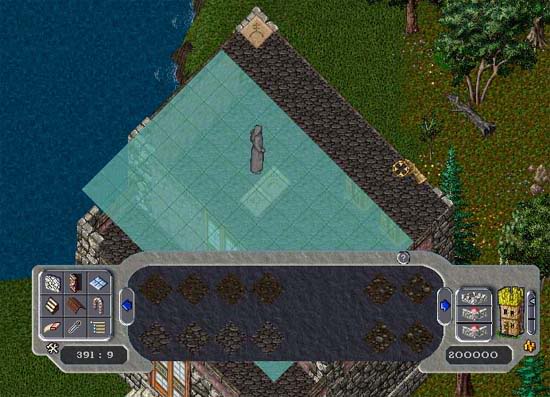
It needs “prettied” up some. On the third floor, place two rows of floor tiles and committ:
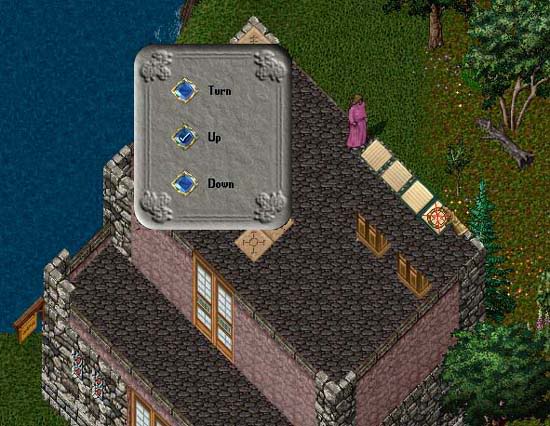
Place three gazas as shown and raise them 3 times (ignore that 4th gaza. After 76 screen shots, I was getting pretty tired):
Place a south facing hardwood table on the gazas.
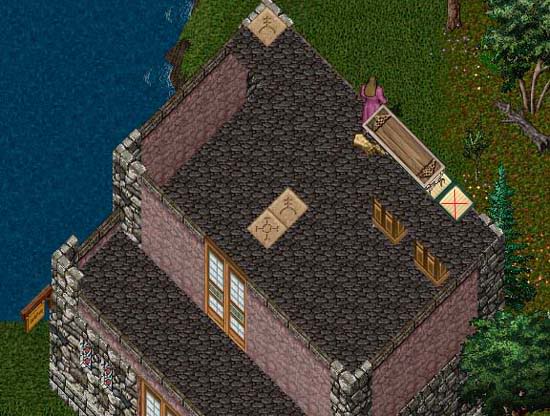
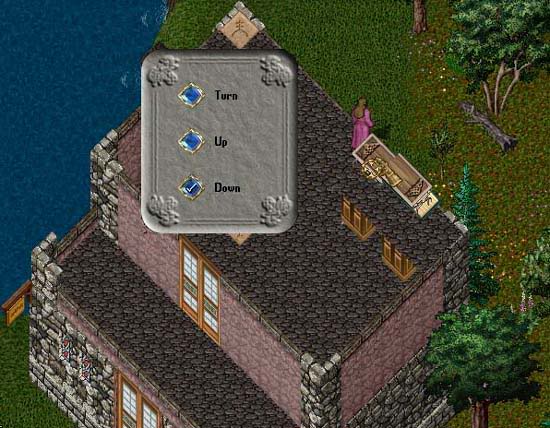
Lower any of the gazas to break the table:
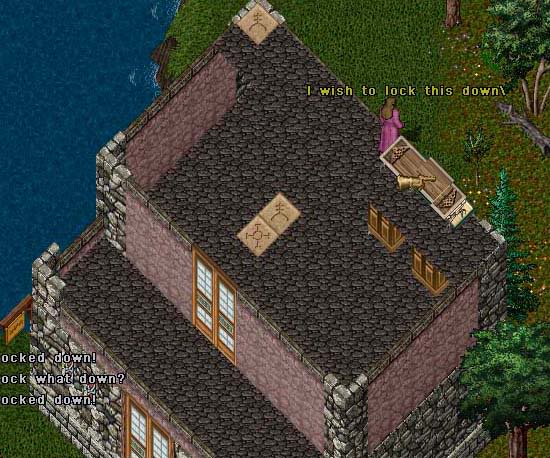
This table comes apart in three pieces just like the large stone tables. Lock each piece down:
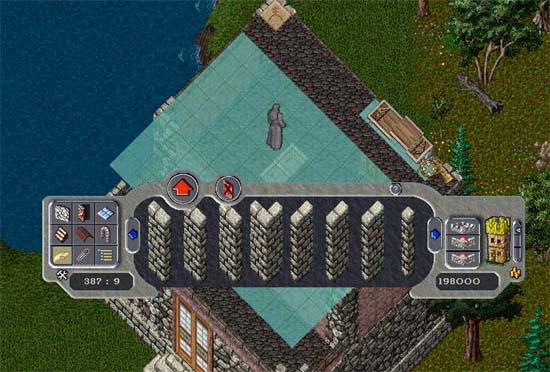
Now comes the fun part. Go into the customization menu and remove the floor tiles under the hardwood table and commit.
Lower the table through the floor!
Jump off the edge and finish lowering each section (you will not need the small right section, so you can axe it whenever you like):
Return to the customization menu and replace the floor tiles and commit:
Place three gazas as shown and raise three times:
Place another hardwood table on the gazas:
Lower any of the gazas and break the table:
Again, lock each piece:
Return to customization and remove the floor tiles under the table just as you did before and commit:
Once again, lower the table section through the floor. This time you will not be using the left section.
Jump off the ledge and finish lowering:
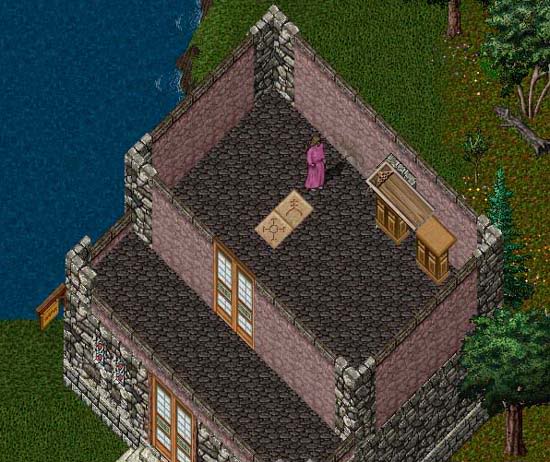
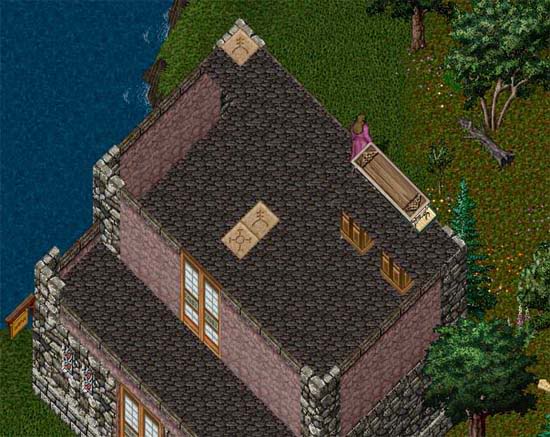
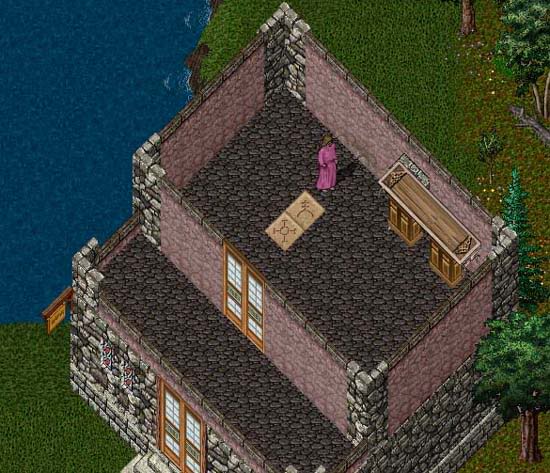
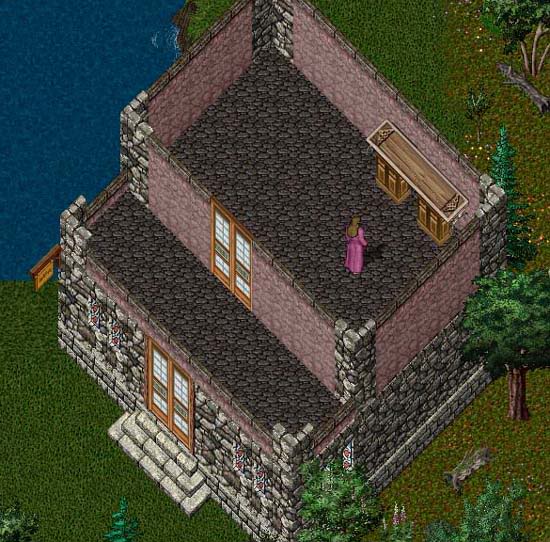
The finished desk will look like this – Ignore the chimney, we’re working on that:
Go back into customization and clean up what needs cleanup up. Add your roof or whatever else you wish to add to your house.
When finished, lower the two sections of your stone oven and rejoin them. WARNING: Once you do this step, if you enter customization, the oven will redeed itself and go to the moving crate (speaking of, don’t forget to check the moving crate between steps to retrieve your gazas). You will not be able to replace the stone oven without removing the floor and repeating a great deal of the process, so be sure you’re ready before you put the oven back together.
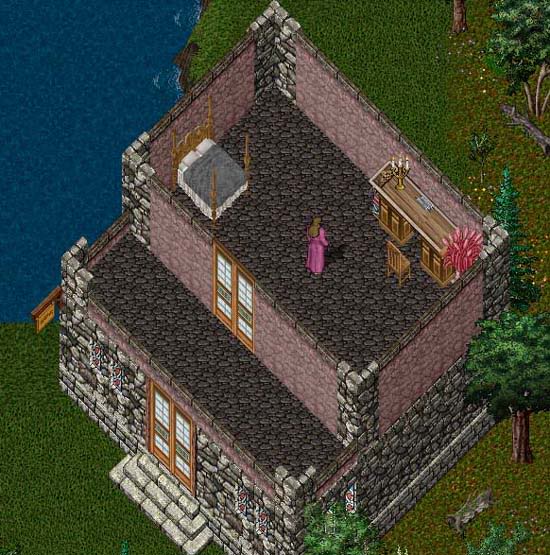
And what happened upstairs? The chimney is gone!
Now you have a complete and USEABLE kitchen! Start decoing!
(little note about the upstairs desk: if you want to place a plant beside it on the right, chop the end piece off or it will protrude through the plant/item):
Last modified: January 7, 2014


